Suppose you regularly send mailings. For example, monthly newsletters, a service message once a quarter and promotional emails. You have your e-mail marketing activities well organized, but to what extent are these mailings actually read? With a reactivation campaign you increase engagement and limit the group of sleeping readers to a minimum.
Before you start enthusiastically with this campaign, it is useful to determine how many sleeping readers you have. Is it immediately necessary to take steps? In Spotler this can be found in the Lists module. Here you make a target group selection based on: Engagement: non-opens.
See the article: How can I view the number of dormant contacts in my database?
Getting started
Spotler has a standard template for a reactivation campaign. You can always expand or adjust the campaign flow as desired. The campaign flow of the reactivation template looks like this:
Goal =renew relationship (retention or win-back)
Trigger= period of inactivity (inactivity = no emails opened, no forms and surveys completed)
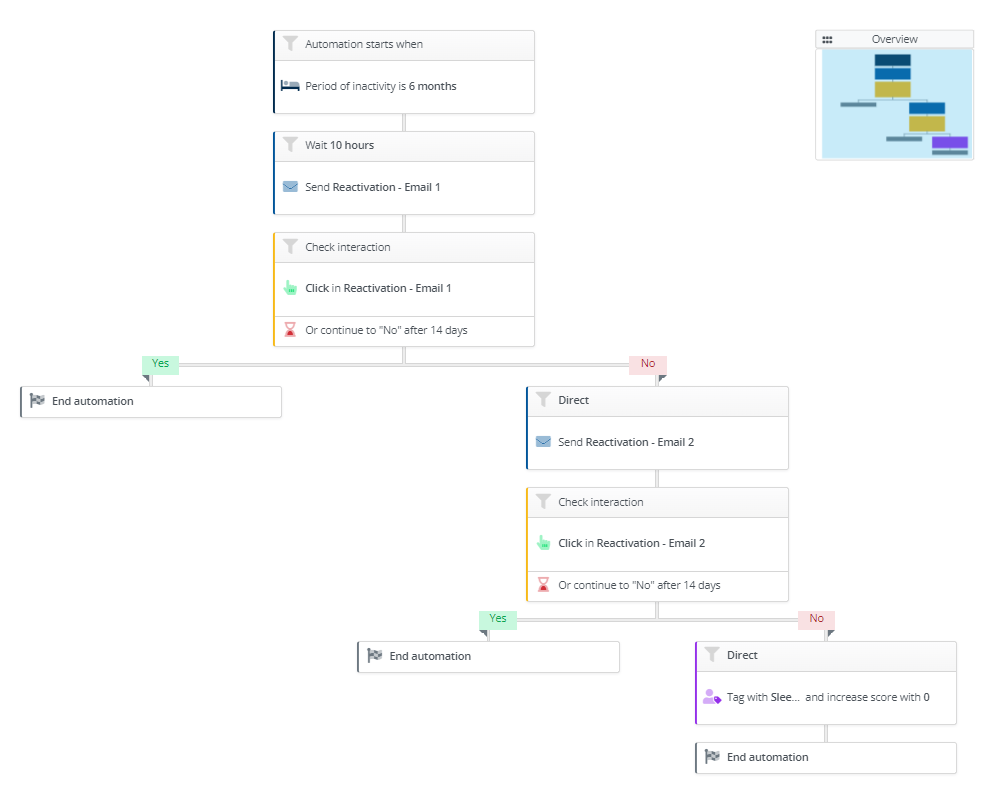
Campaign=In this example campaign, after 6 months of inactivity, a reactivation email is sent at 10:00 AM. Then 14 days after this e-mail, it is checked whether the e-mail has been clicked or not. If someone clicks in the reactivation email within those 14 days, the campaign will stop. Someone is active again.
Isn't this the case? Then a second reactivation email will be sent 14 days later at 10:00. If someone still clicks in this second email, the campaign for the contact will stop. If someone still does not click, they will be tagged Sleeper. Based on this, you can possibly start a new campaign or make a selection to exclude from your dynamic lists.
You go through the following steps when you use our standard template:
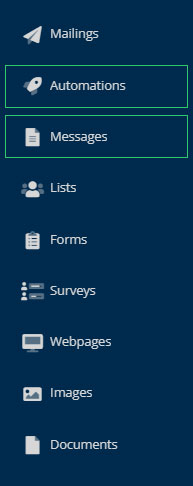
You use the following modules for this:

1. Compose messages
You compose two messages for this campaign:
- Reactivaton - Email 1
You are trying to reactivate your contact with this message. Place a button in your message that a recipient can click on. For example: Would you like to receive mailings from us? Or: Looking for inspiration? - Reactivation - Email 2
Try a different subject line and snippet to trigger the recipient to open your message.
2. New automation
You go through the following steps in the Automations module:
- Click on the yellow button New automation.

- In step 1 you enter a name at the Properties , for example; Reactivation campaign.
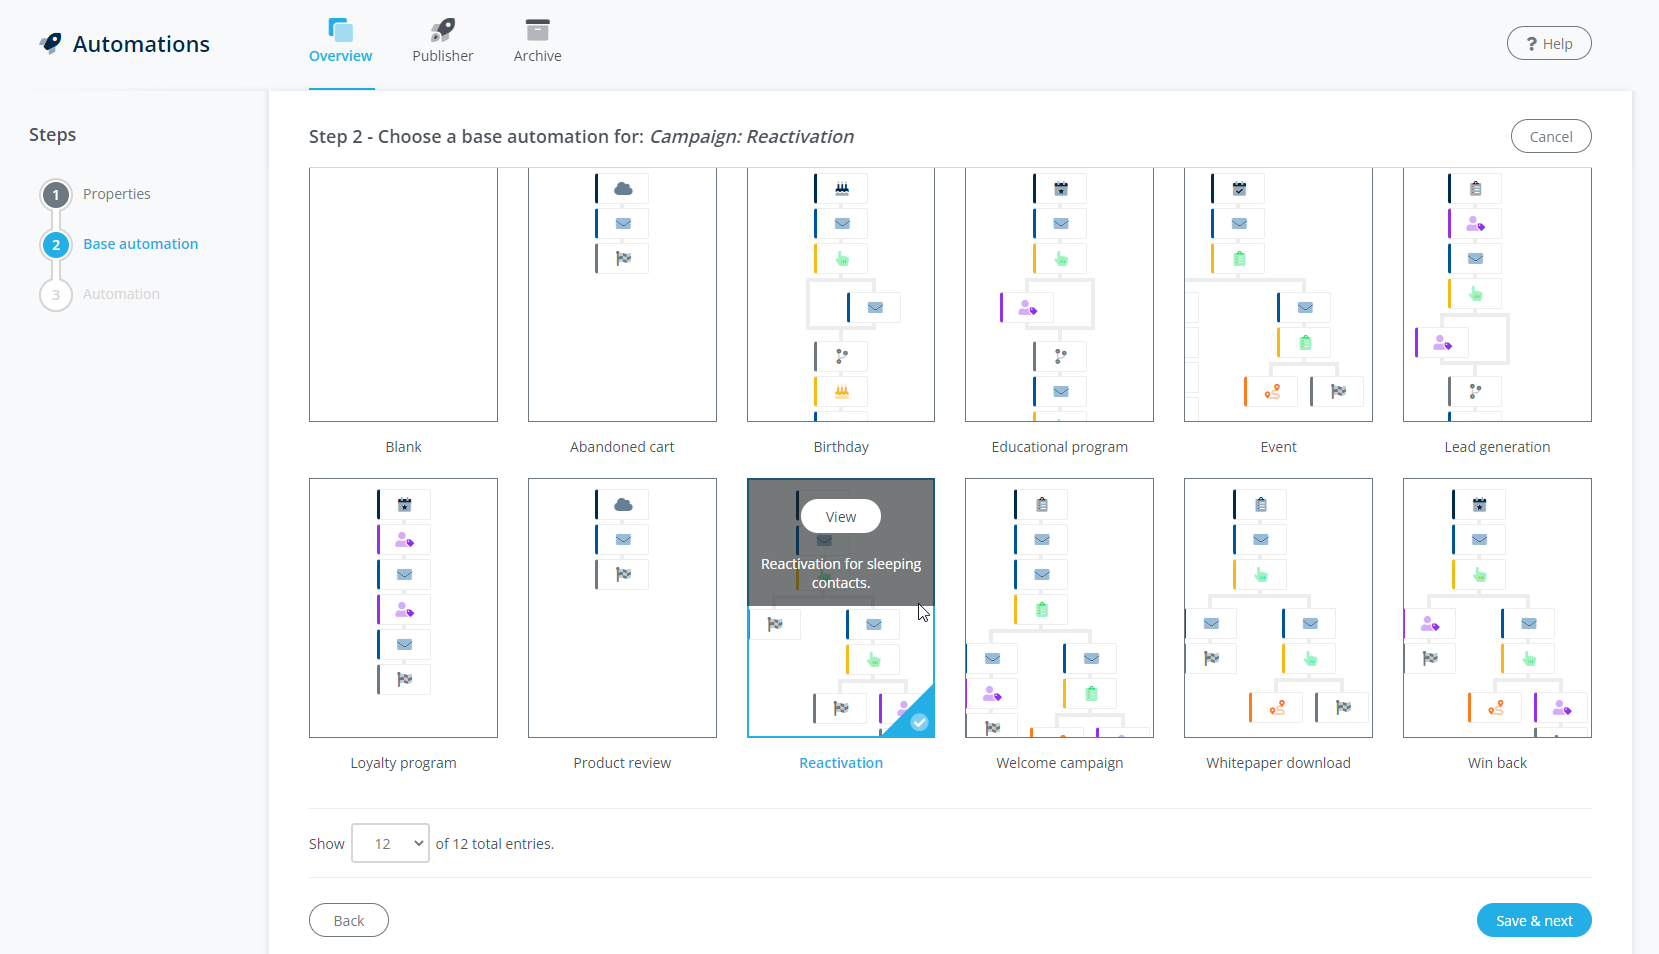
- In step 2 you choose whether you want to make a choice from the default templates or a template that you have saved. By default, the option is set to Default templates. Click on the Reactivation template and on Save & next.

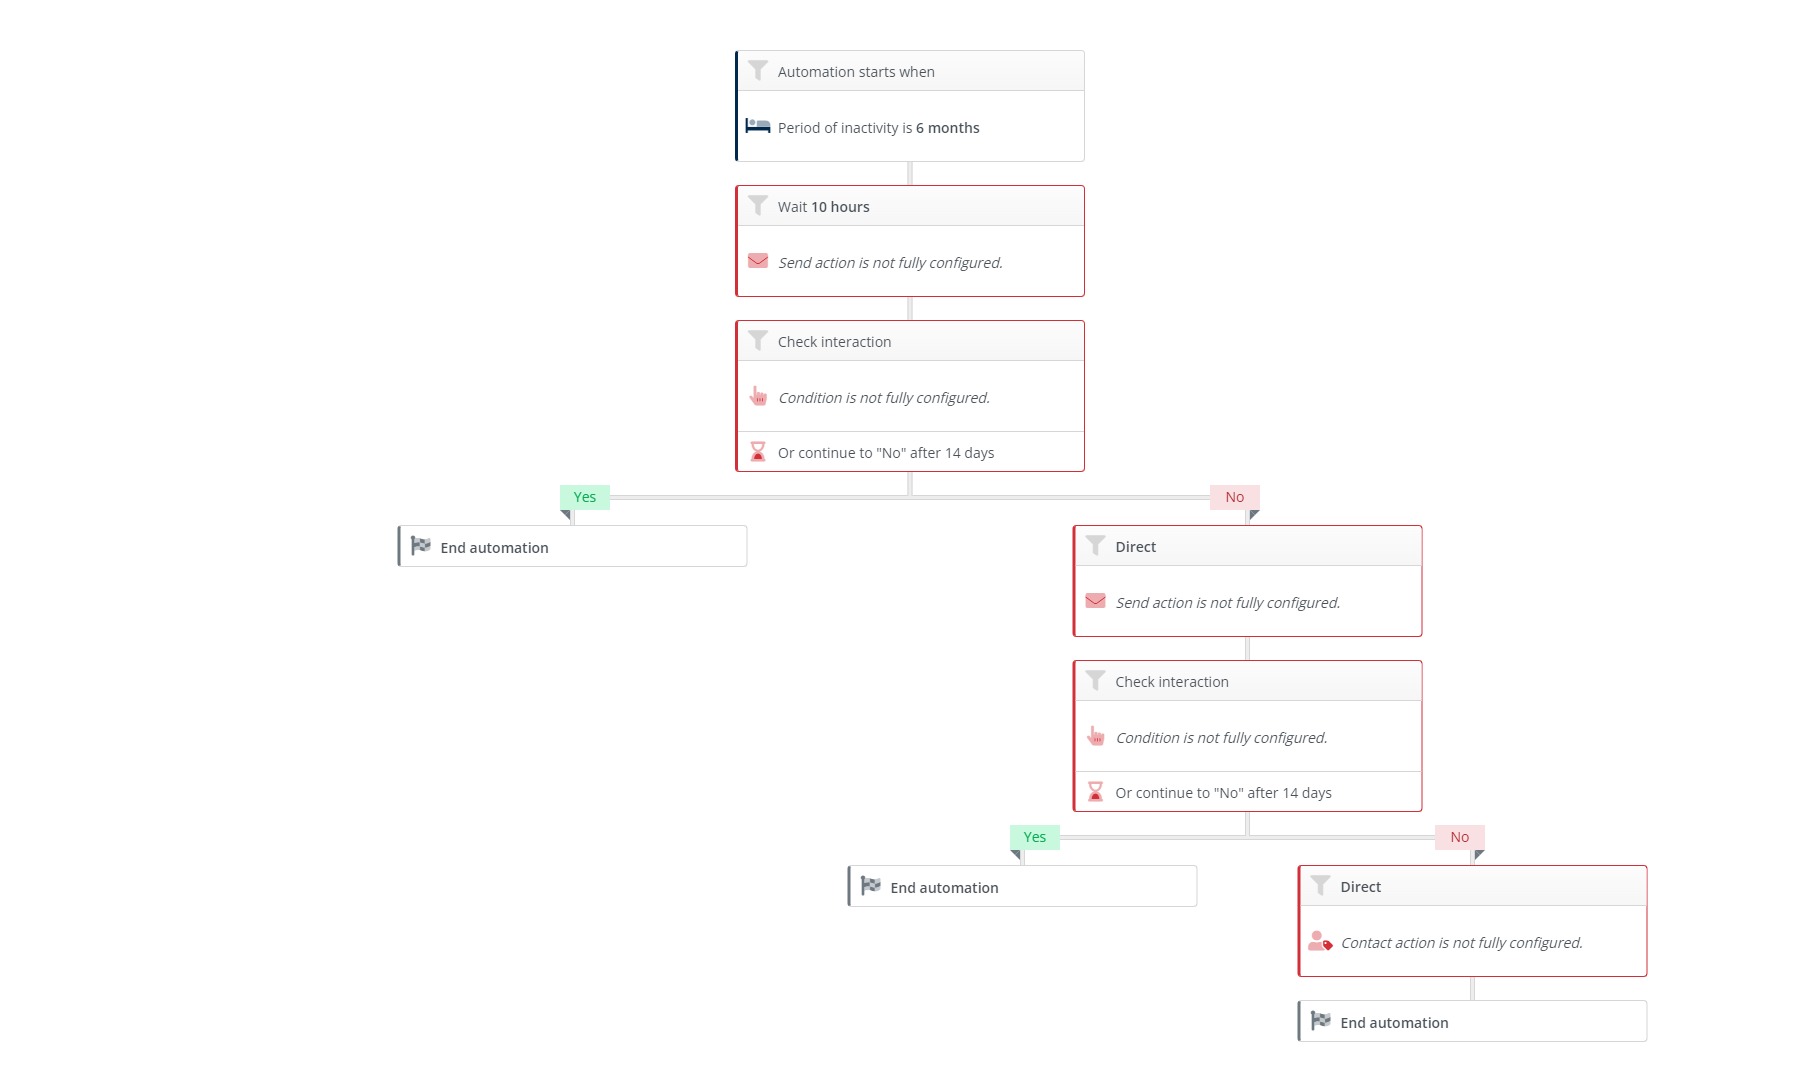
- In step 3, click on the blue Edit button to open the editor.
- The campaign flow looks like this in the editor:
Click on the image to enlarge
Trigger:
This is already set by default to a period of inactivity of 6 months. But you do want the campaign to be triggered only for contacts who have not already unsubscribed from your newsletter. You do this on the basis of a filter on the trigger.

Permission required for the campaign
This campaign may only be triggered for contacts who have given you permission for the newsletter. You can't just send campaign messages to any random contact. By applying filters within your campaign, you ensure that only contacts with the newsletter permission are triggered in the campaign and, for example, not contacts who have unsubscribed. You can read how to do this in the article: How do I apply a filter to a trigger, action or condition?
Action 1:
You will see that the Send action is not yet fully set up. The correct message has not yet been selected. Click on the send action and then you can select the message you created earlier on the left. In this case: Reactivation - Email 1
Condition 1:
This condition checks if the contact clicks in the message. If this has not been done after 14 days after the mail was sent, the contact will be forwarded to the No path. The condition has not yet been set. Click on the condition and select the message on the left: Reactivation - Email 1 and select the link where the check should take place. The condition creates a yes-path and a no-path.
Yes-path
You don't set anything here. Someone has been reactivated.
No-path
A new message will be sent immediately after the check. Here you can also see that the Send action is not yet fully set up. The correct message has not yet been selected. Click on the send action and then you can select the message you created earlier on the left. In this case: Reactivation - Email 2. Play with the sending moment with this promotion, maybe the contact will click during the weekend or at 11 o'clock in the evening.
Condition 2:
Another check is done. This time it will be checked whether the message has been clicked: Reactivation E-mail 2. If someone clicks, the campaign will stop immediately. If someone does not click within 14 days, the contact will follow the no-path.
No-path
No activity after 14 days? The contact is tagged Sleeper. You still need to set this tag. Click on the Contact action. Haven't created a tag with Sleeper yet? Then fill in the input field Sleeper, under Select tag, and press Enter. Have you created this tag before? Then you use the input field as a search field by typing. You can use this tag to exclude contacts from less important mailings.
3. Publish automation
To activate the automation, publish it in the Publisher. You can read more about this in the article: Publisher.

