Everyone has a date of birth. Why not use that date for email marketing? The birthday campaign is an excellent opportunity to underline the relationship with your customer. It gives a human, creative and refreshing twist to your existing communication. In addition, this simple campaign is more effective than a standard newsletter.
Are birthdays less relevant within your organization? Then use data that is related to your product or service or to an anniversary of your customer relationship.
Then why haven't you started yet? The number 1 reason is missing birthday dates. This is a bit clumsy, but easy to solve. Collecting data is a continuous process and can be done through various channels. For example, set up a profile enrichment campaign.
Getting started
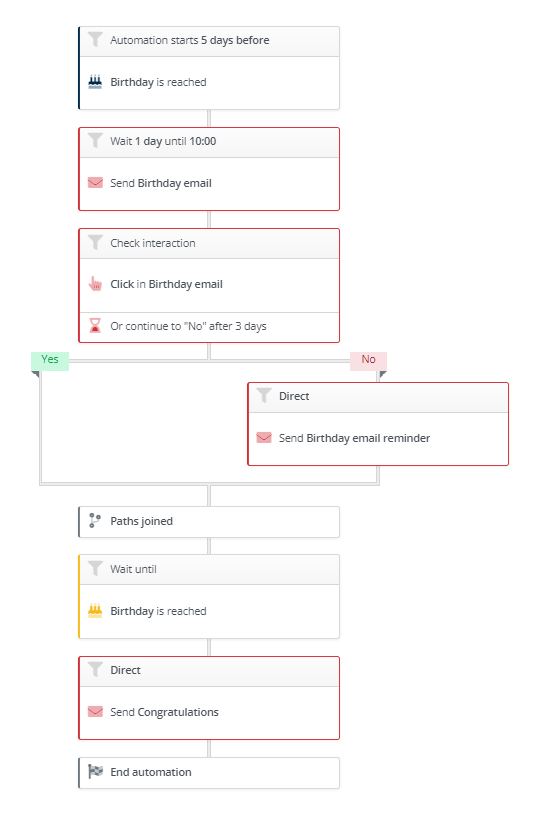
Spotler has a standard template for a birthday campaign. You can always expand or adjust the campaign flow as desired. The campaign flow of the birthday template looks like this:
Goal =Building and expanding relationship
Trigger campaign =The trigger for this campaign is a contact's date of birth. But you can also use other data, such as data related to the anniversary of your customer relationship.
Campagne = 4 days before the birthday date, a birthday email will be sent at 10:00 AM. Subsequently, the contact clicks in the birthday email will be checked for 3 days.
If the contact clicks on a link in the email; For example, a link to your webshop, the contact will receive a congratulatory email on their birthday.
If someone does not click, a reminder will be sent the day before his birthday. This contact will then also receive a congratulatory email on his birthday.
 |
Filter by permission Therefore apply a filter to the trigger, so that only your newsletter subscribers receive this campaign. Not sure how to set a filter? Then read the article: How do I apply a filter to a trigger, action or condition? |
You go through the following steps when you use our standard template:
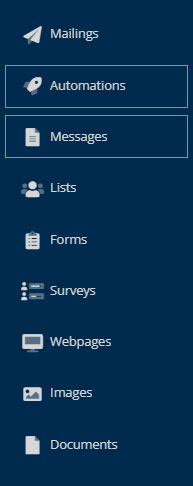
You use the following modules for this:

1. Compose messages
First, compose three messages for this campaign:
- Birthday email
- Birthday email reminder
- Congratulations!
2. New automation
You go through the following steps in the Automations module:
- Click on the yellow button New automation

- In step 1 you enter a name in the Properties, for example; Birthday campaign.
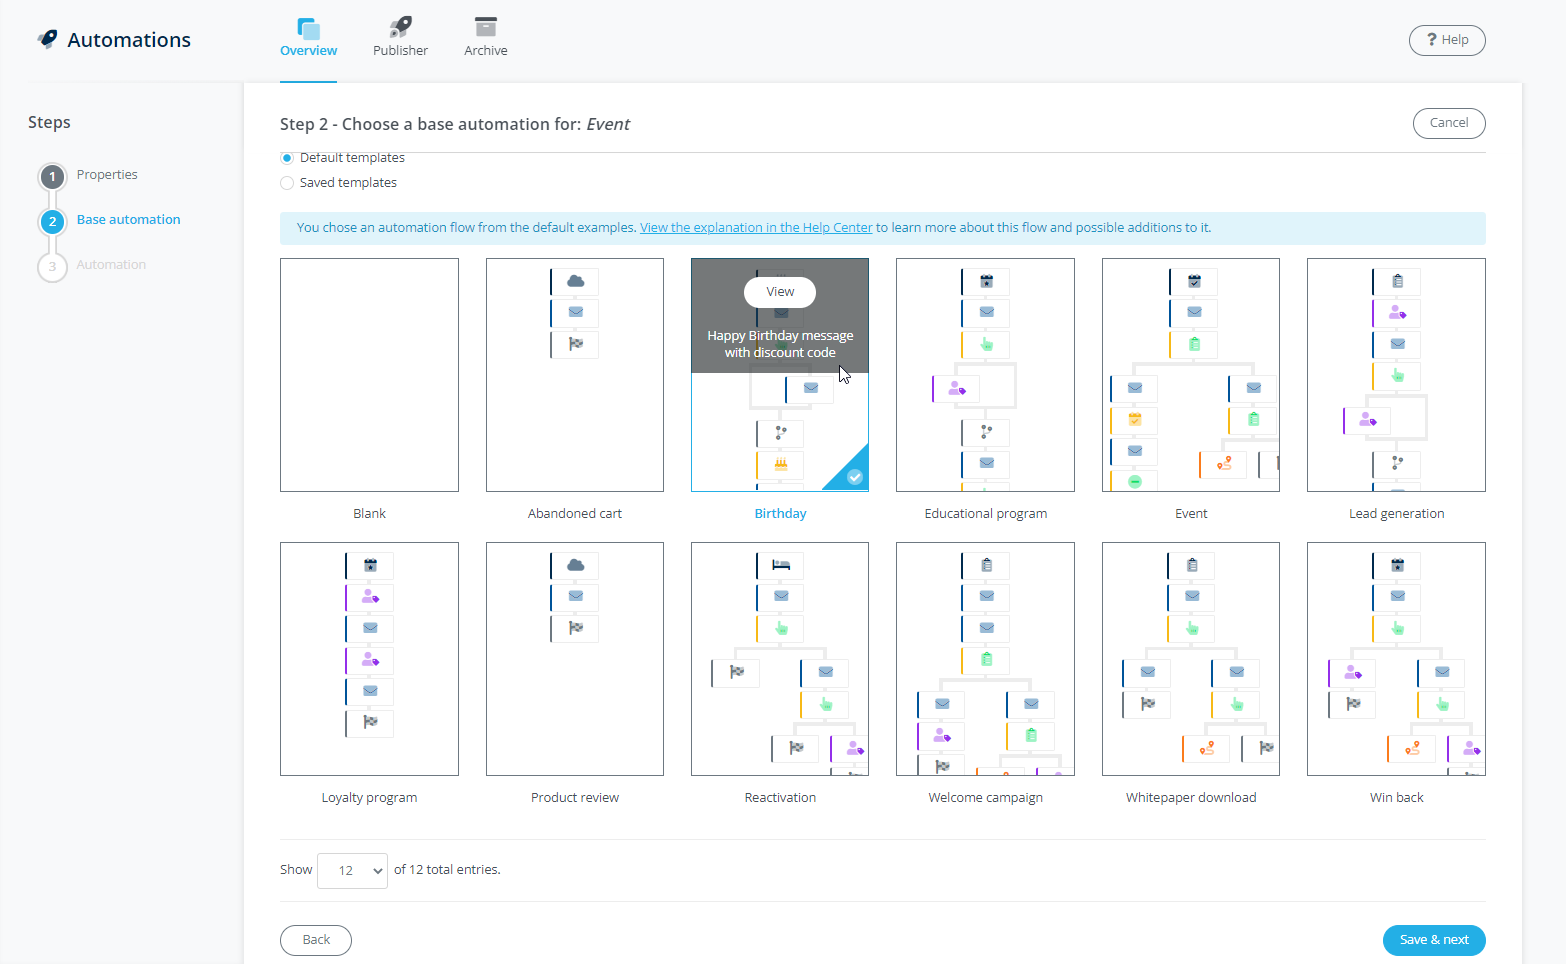
- In step 2 you choose whether you want to make a choice from the default templates or a template that you have saved. By default, the choice is on Default templates. Click on the Birthday template and on Save & Next.

- In step 3, click on the blue Edit button to open the editor.
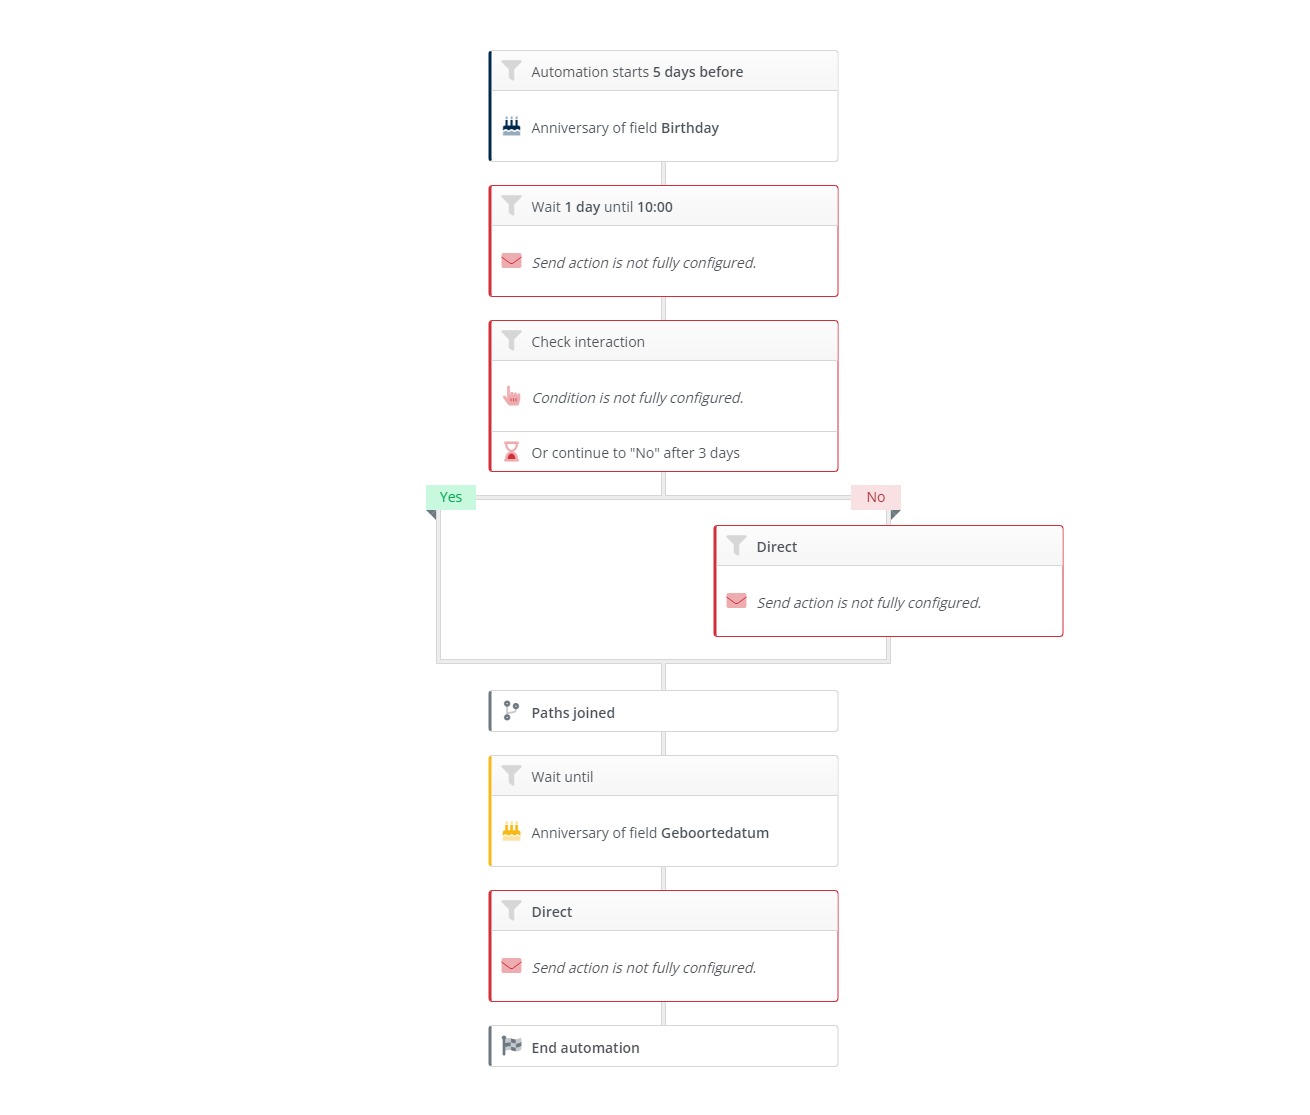
- The campaign flow looks like this in the editor:
Trigger: Date of birth. But you can also use other data, such as data related to the anniversary of your customer relationship. NB; only contacts with permission are allowed to receive this campaign. Use a campaign filter for this.
Action:
Permission required for the campaign
This campaign may only be triggered for contacts who have given you permission for the newsletter. You can't just send campaign messages to any random contact. By applying filters within your campaign, you ensure that only contacts with the newsletter permission are triggered in the campaign. You can read how to do this in the article: How do I apply a filter to a trigger, action or condition?
A birthday email will be sent at 10:00 a.m. 4 days before the birthday date. You can see that the Send action is not yet fully set up. The correct message has not yet been selected. Click on the send action and then you can select on the left the message you created earlier: Birthday email.
Condition:
If the contact clicks on a link in the email; For example, a link to your webshop will stop the automation. Does a contact not click 3 days after receiving the birthday email? Then the contact will receive a reminder. Click on the Send action and select: Birthday email reminder.
Action:
All contacts will receive a congratulatory email on the birthday itself. You set this as the last sending action. Click on the send action and select the message: Congratulations!
3. Publish automation
To activate the automatic campaign, publish it in the Publisher. You can read more about this in the article: Publisher.