Generating revenue from your existing customer base is often easier than tapping into new target groups. After all, an existing customer has already become acquainted with your webshop and has shown interest. Each follow-up purchase helps to make up for the recruitment costs incurred.
Unfortunately, not every customer will make a repeat purchase. At least not by itself. A little help in the form of a win back campaign gives that extra push. The default campaign “Win back” in Spotler ensures that this happens automatically.
Getting started
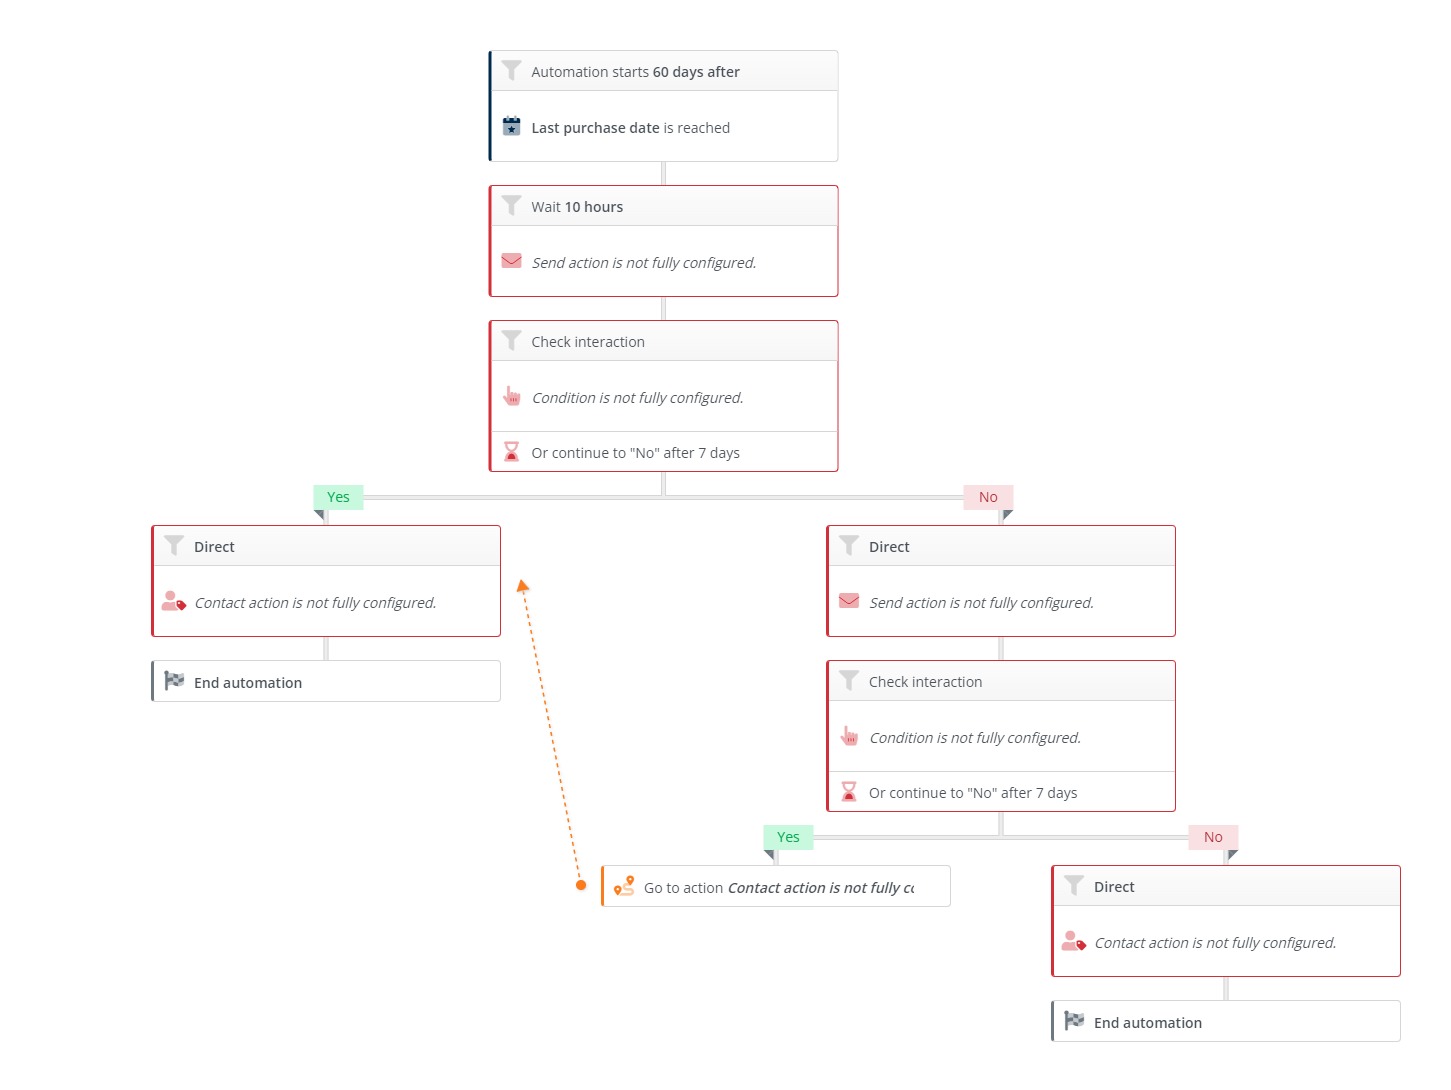
The win back campaign in Spotler is triggered based on the last purchase date. When a customer does not place new orders for 60 days, he/she will receive the win back email at 10:00 AM. The time period of 60 days is of course changeable. We recommend aligning this with the average purchase frequency. You can always expand or adjust the campaign flow as desired. The campaign flow for the win back campaign looks like this:
Goal =Encouraging a repeat purchase
Trigger campagne = The trigger is the last purchase date (a personal date field)
Campaign=A winback message will be sent immediately after 60 days from the last purchase date.
The idea of this automatic campaign is to check whether the winback message has been clicked 7 days after sending the win back message.
If a contact has clicked in the win back message, a contact will follow direct the yes-path. The contact gets a tag Win back with a score of 1. Based on this tag, you could start a new automation. After this, the automation is terminated for the contact.
Has a contact not clicked after 7 days? Then a message is sent immediately; this message can be a reminder. Then the interaction in the message is checked. If someone still clicks in the message, the contact will be tagged with Win back with a score of 1.
If a contact does not click within those 7 days, it will receive the tag Sleeper and a score increased by 1. In this way it is possible to start a new automation based on a specific score. Suppose a contact eventually has a score of 3 at Sleeper, then you can think of sending a message with a higher discount to make a purchase in your webshop.
You go through the following steps to publish the win back campaign:
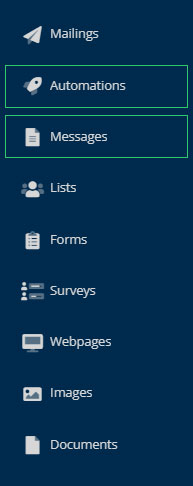
You use the following modules for this:

1. Composing win back messages
First you compose a message for your win back campaign. Getting a customer to buy again takes effort. It is therefore advisable to give something away, such as a discount (% of the amount), free shipping costs of a bonus with a next order. Indicate a life course to create urgency. Read more about unique discount code in Spotler in the article: Discount codes.
This sample campaign uses two messages:
- Win back E-mail 1
- Win back E-mail 2 (this can be a message with a different subject line or other content, such as offering a higher discount)
Don't forget to set your campaign messages to Final status, otherwise they won't be selectable in the editor.
2. New automation
You go through the following steps in the Automations module:
- Click yellow button New automation

- In step 1 you enter a name in the Properties, for example; Win back campaign.
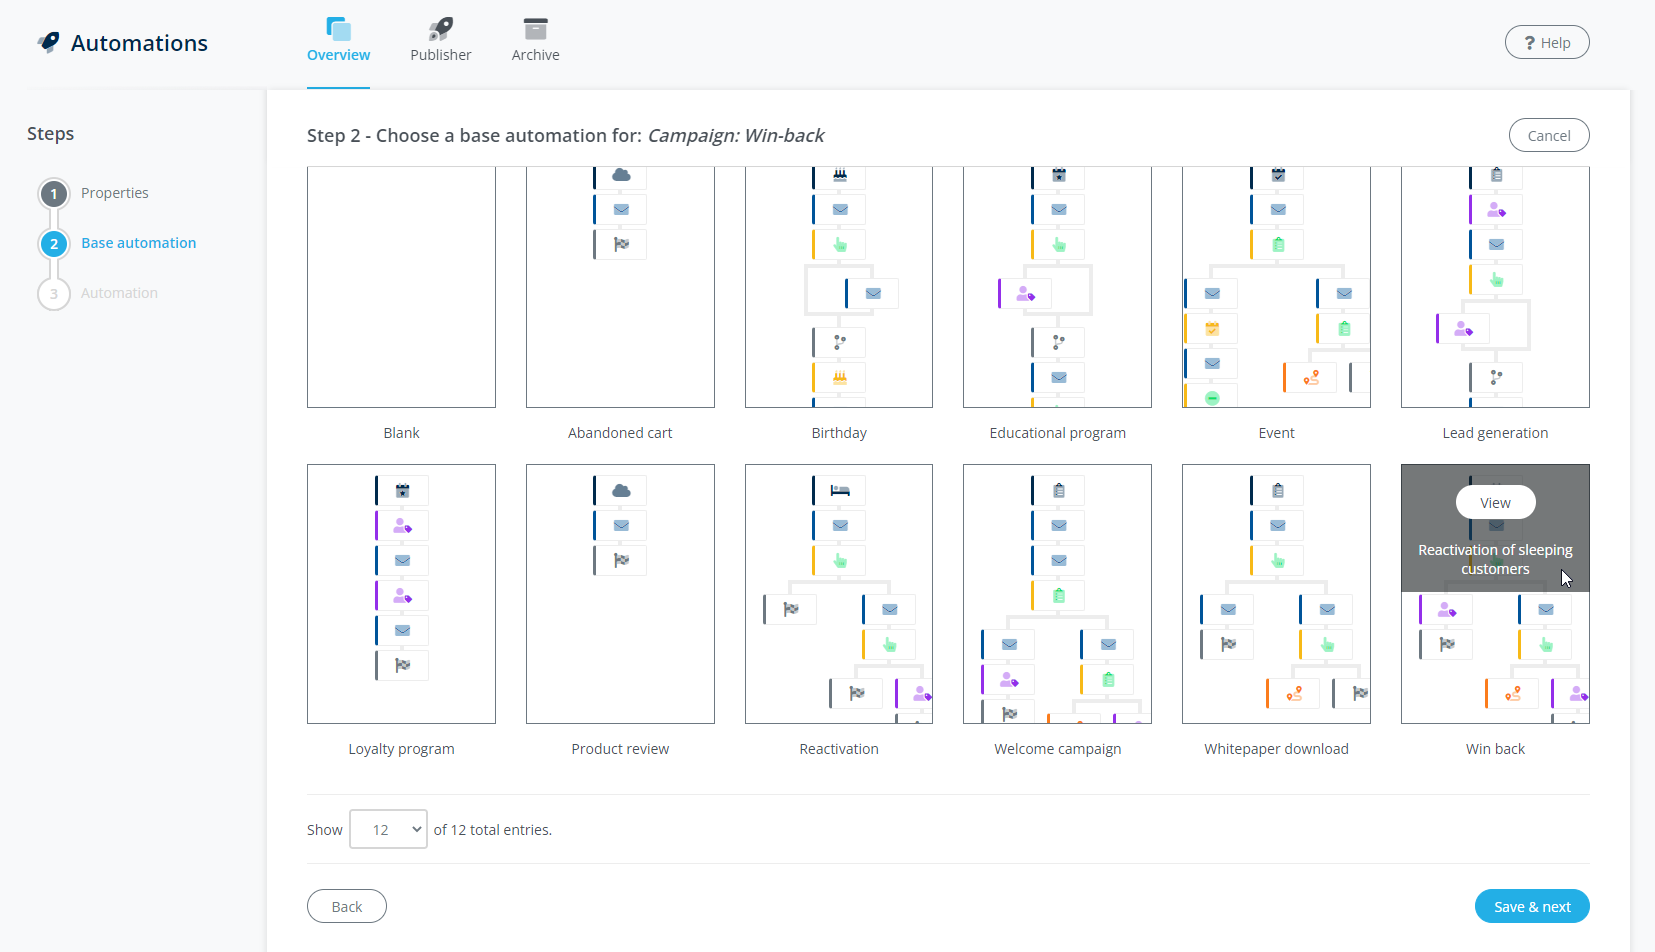
- In step 2 you choose whether you want to make a choice from the default templates or a template that you have saved. By default, the choice is on Default templates. Click on the template Win back and on Save & next.

- In step 3, click on the blue Edit button to open the editor.
- The campaign flow looks like this:
Trigger: The trigger is 60 days from the last purchase date. This can be changed as desired. Apply a filter to the trigger, because you don't want to email contacts who have unsubscribed.

Permission required for the campaign
This campaign may only be triggered for contacts who have given you permission for the newsletter. You can't just send campaign messages to any random contact. By applying filters within your campaign, you ensure that only contacts with the newsletter permission are triggered in the campaign. You can read how to do this in the article: How do I apply a filter to a trigger, action or condition?
Action:
A notification will be sent at 10:00 AM 60 days after the last purchase date. You have previously created this message. You will see that the Send action is not yet fully set up. The correct message has not yet been selected. Click on the send action and then you can select the message you created earlier on the left.
Condition:
The idea of this automatic campaign is to check whether a click has been made 7 days after the winback message has been sent.
You will see that the Condition is not yet fully set. Two more settings have to be made. Click on the condition to go to the settings of the interaction. First select the message for the interaction. In this case, the same message you used in the previous action.
Then select the link to be checked. Logically, this is the button that refers to your webshop.
Yes-path
If a contact has clicked in the win back message, a contact will follow the yes path.
Action
In this example a tag and score is given. The tag is Win back and the score is plus 1. Based on this tag, you could start a new automation. After this, the automation is terminated for the contact. You don't have to set anything for this, unless you like to see this differently.
No-path
Did someone not click 7 days after the message? Then a contact follows the no-path.
Action
A message is sent immediately; this message can be a reminder. The message has not yet been selected. Click on the send action to select the correct message.
Condition
The interaction in the message is checked. Does someone click within 7 days? Then it goes to the yes path and the contact is tagged with Win back and the score is increased by 1. You don't have to set anything for this either, unless you like to see this differently.
3. Publish automation
To activate the automatic campaign, publish it in the Publisher. You can read more about this in the article: Publisher.

