Want to know how to create a beautiful new automation? Click on the New automation button in the overview screen of the Automations module. A step-by-step plan consisting of three steps opens:
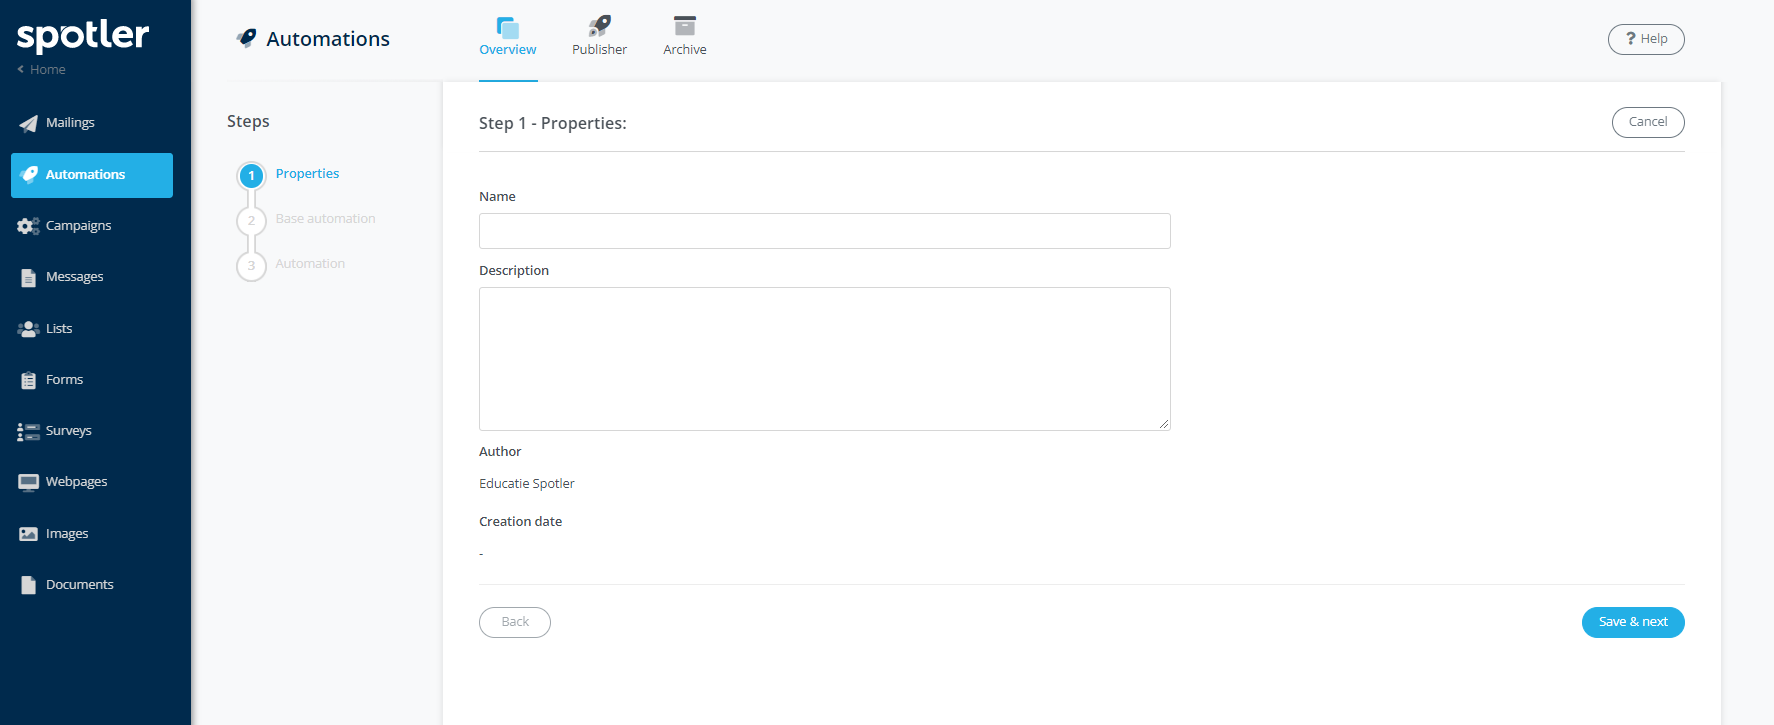
Step 1 - Properties
The start screen of the step-by-step plan looks like this:
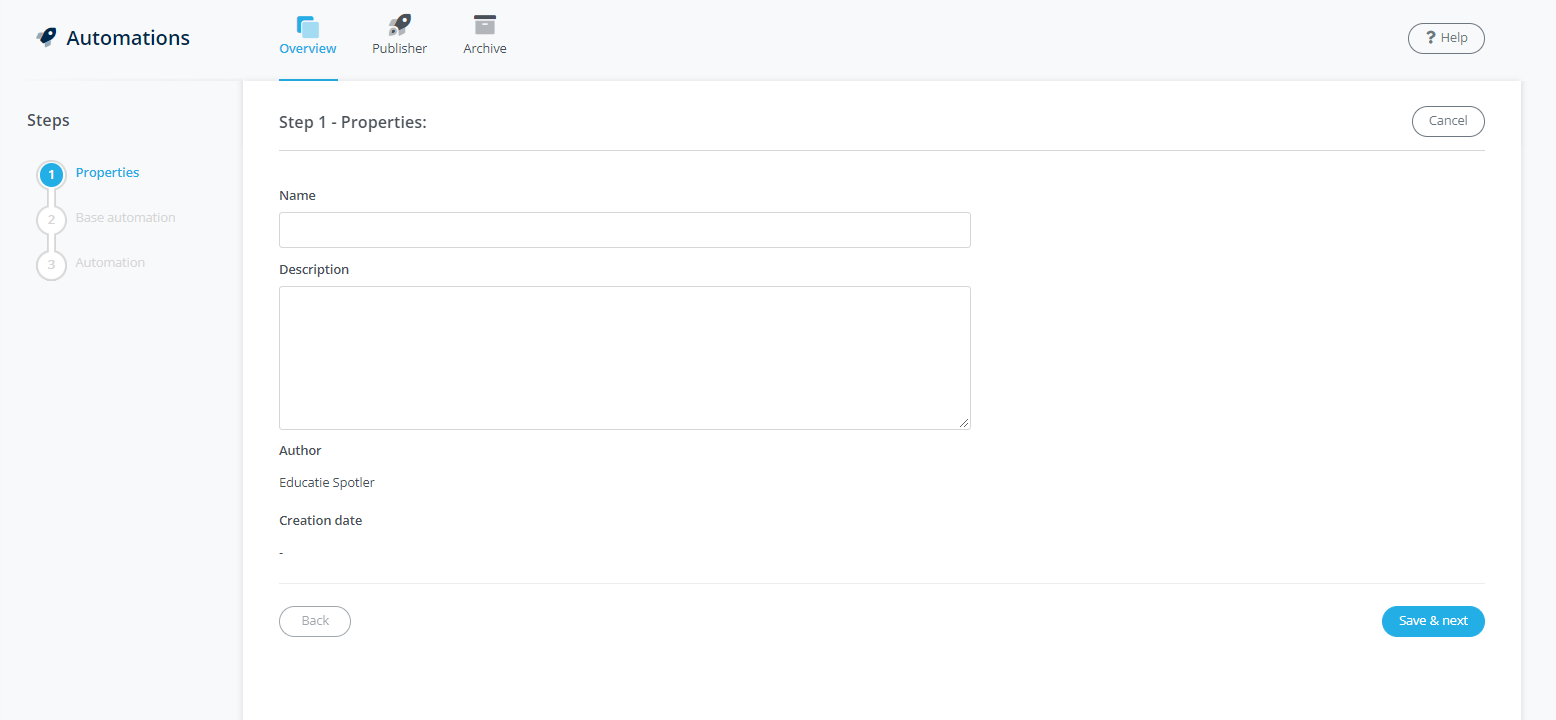
First you have to indicate the properties of your campaign: name of the automation and optionally a description.
- Give a name to your automation that covers the load. For example: Welcome campaign. The name of your automation is for internal use only and not visible to your contacts.
- A description is not mandatory, but it can be useful for your colleagues to understand the purpose of your automation.
Have you entered the properties? Click the Save & Next button.
Step 2 - Base automation
In this step you can choose whether you want to start Blanco and build the automation from scratch. Or you can choose a format from which you work. An example could be Birthday. The automation's flow is then ready for you. You just need to develop the linked content, such as a campaign message.
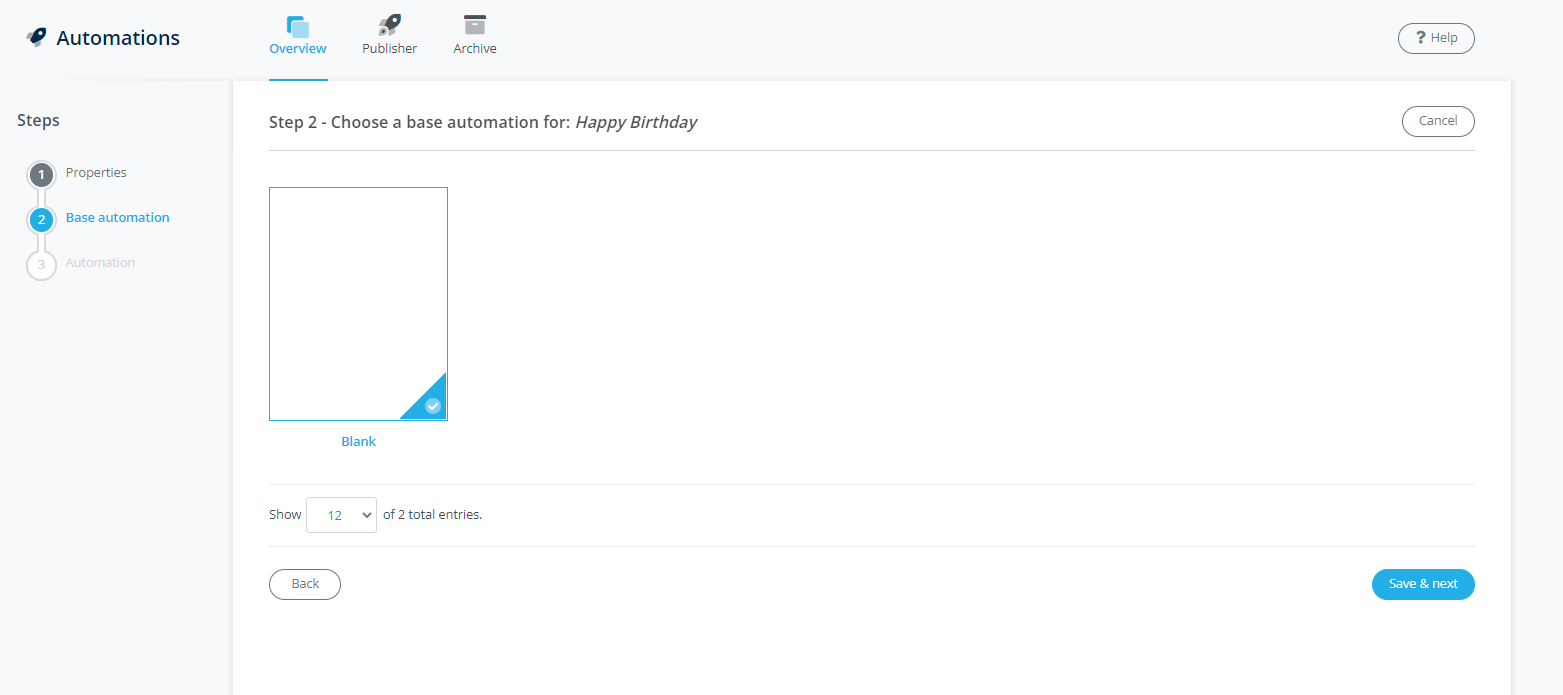
Make a choice and click on the Save and next button.
 |
Save your own automations as a template It is possible to save previously created automations as a template. You do that from the automations editor. For the exact instruction, read the information in Editor Automations. You can see the templates you create in Step 2 - Basic automation. This is useful if you want to use a previously created automation as the basis for your new automation |
Step 3 - Automation
Click on the Edit button to open the editor of the automation.
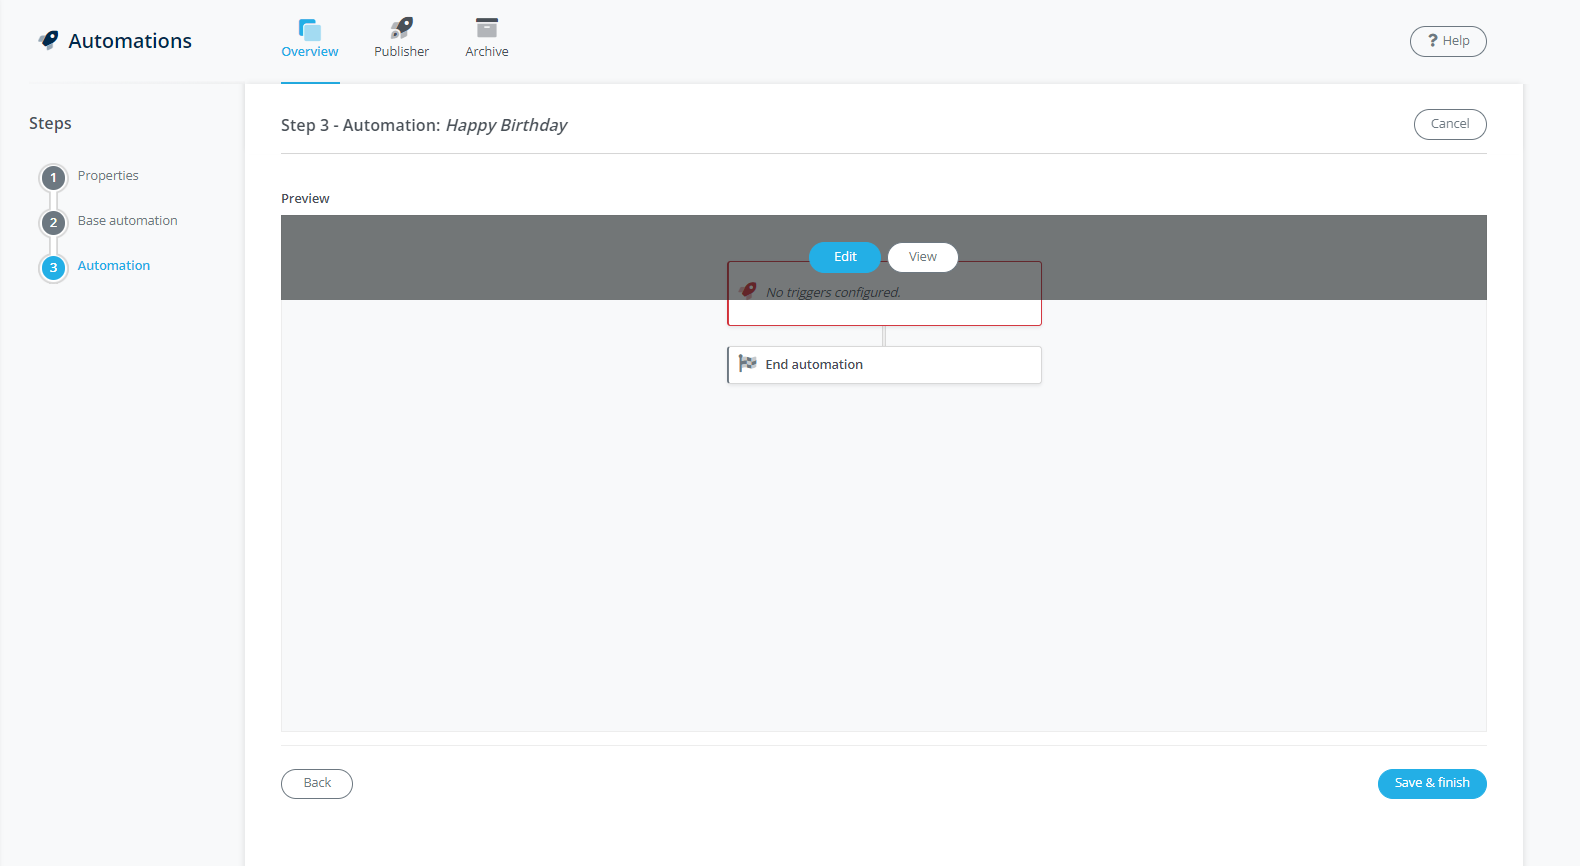
After clicking Edit you will see the following screen:
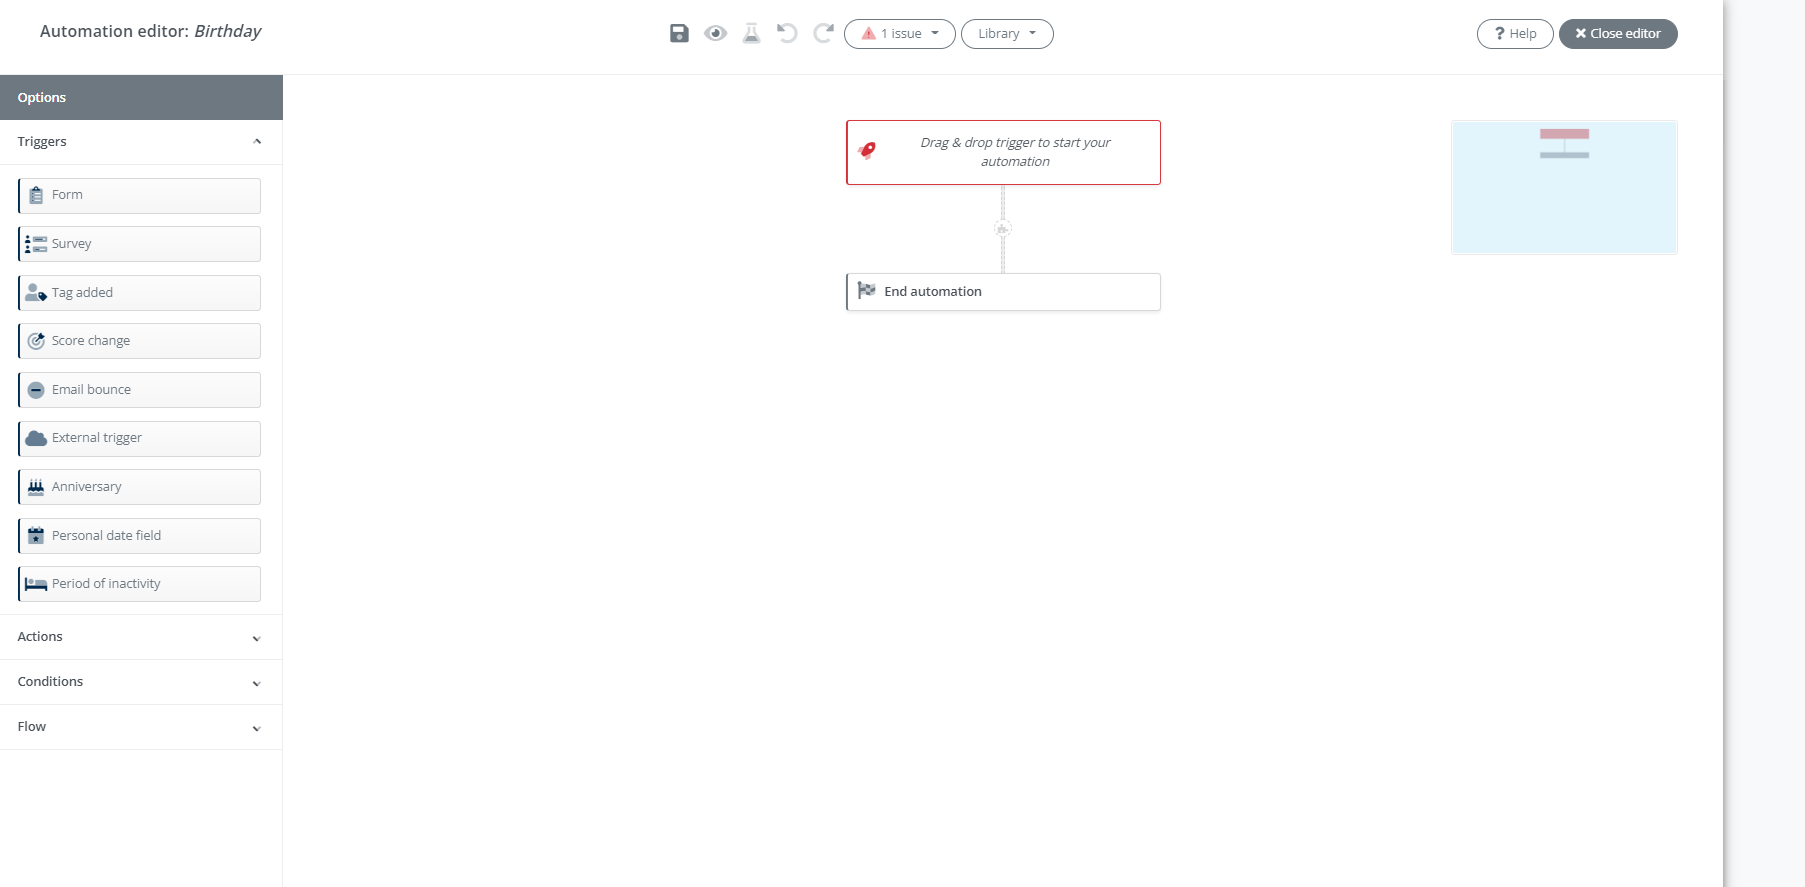
Here you build the flow of your automation based on triggers, actions and conditions. Are you working with the editor for the first time or do you need help? Then go to the Editor Automations.