You can schedule an automation via the Publisher tab. We call this a publication. All publications of automations can be found in this tab.
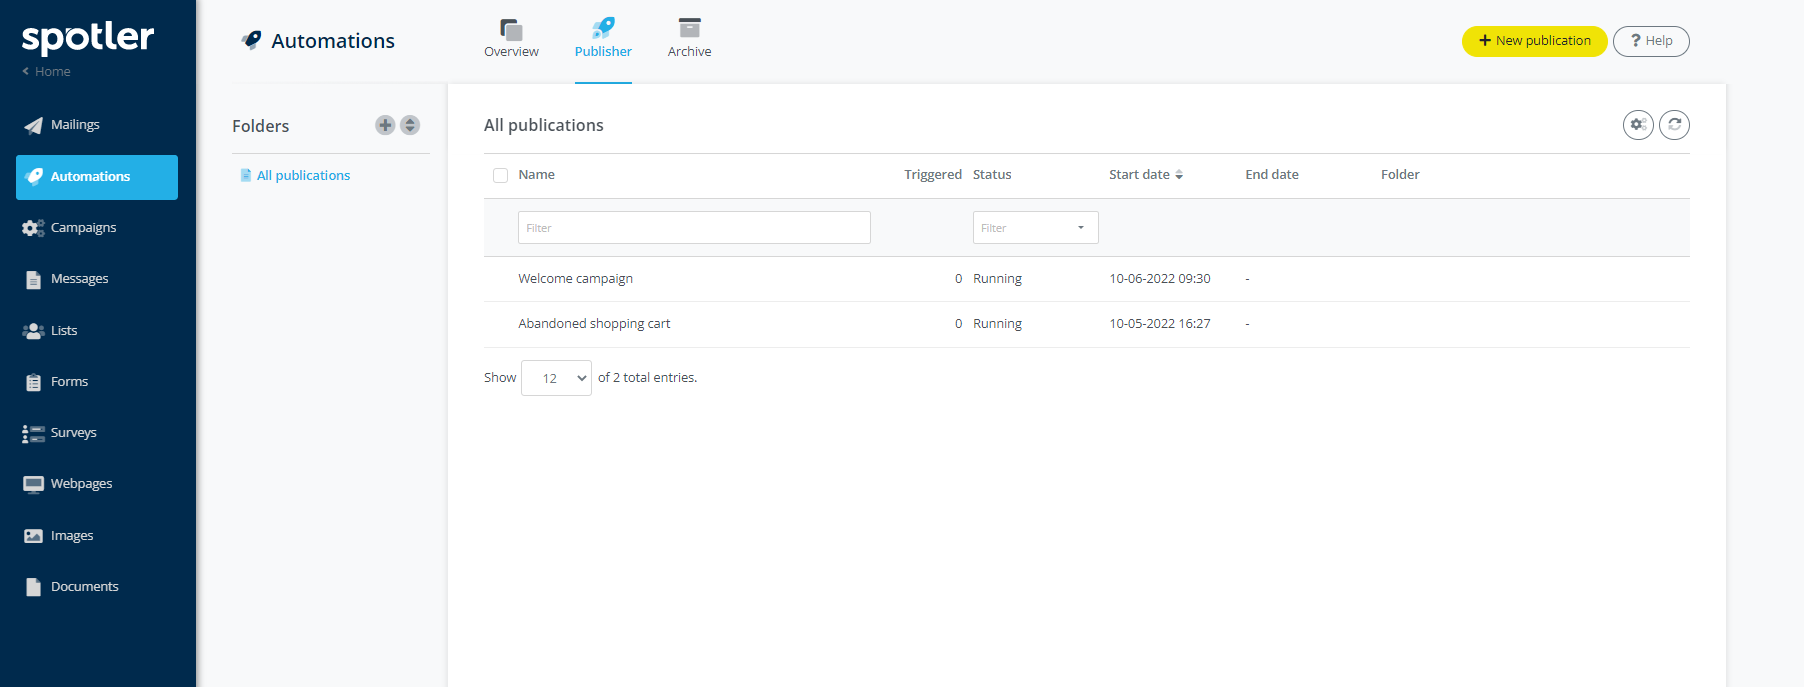
From the publisher overview there are several steps to take:
- Start a new publication
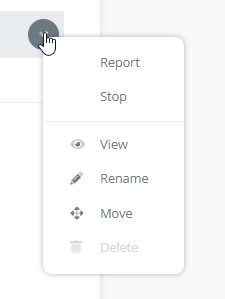
- Open the menu of a publication to: view a report, stop the publication, view publication, rename, move and delete the publication.
Start a new publication
Click on New publication to schedule an automation. A step-by-step plan then starts:
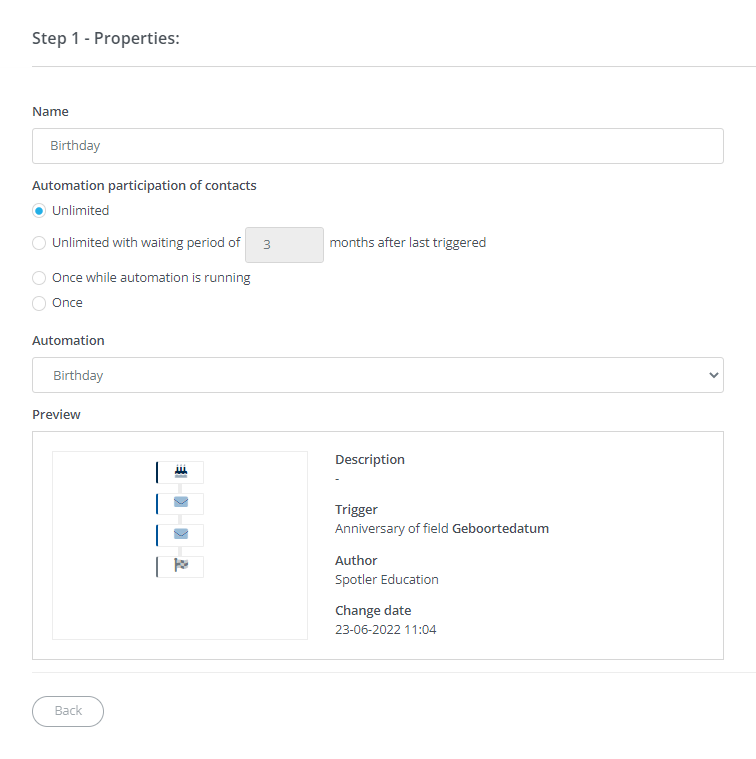
Step 1 - Properties
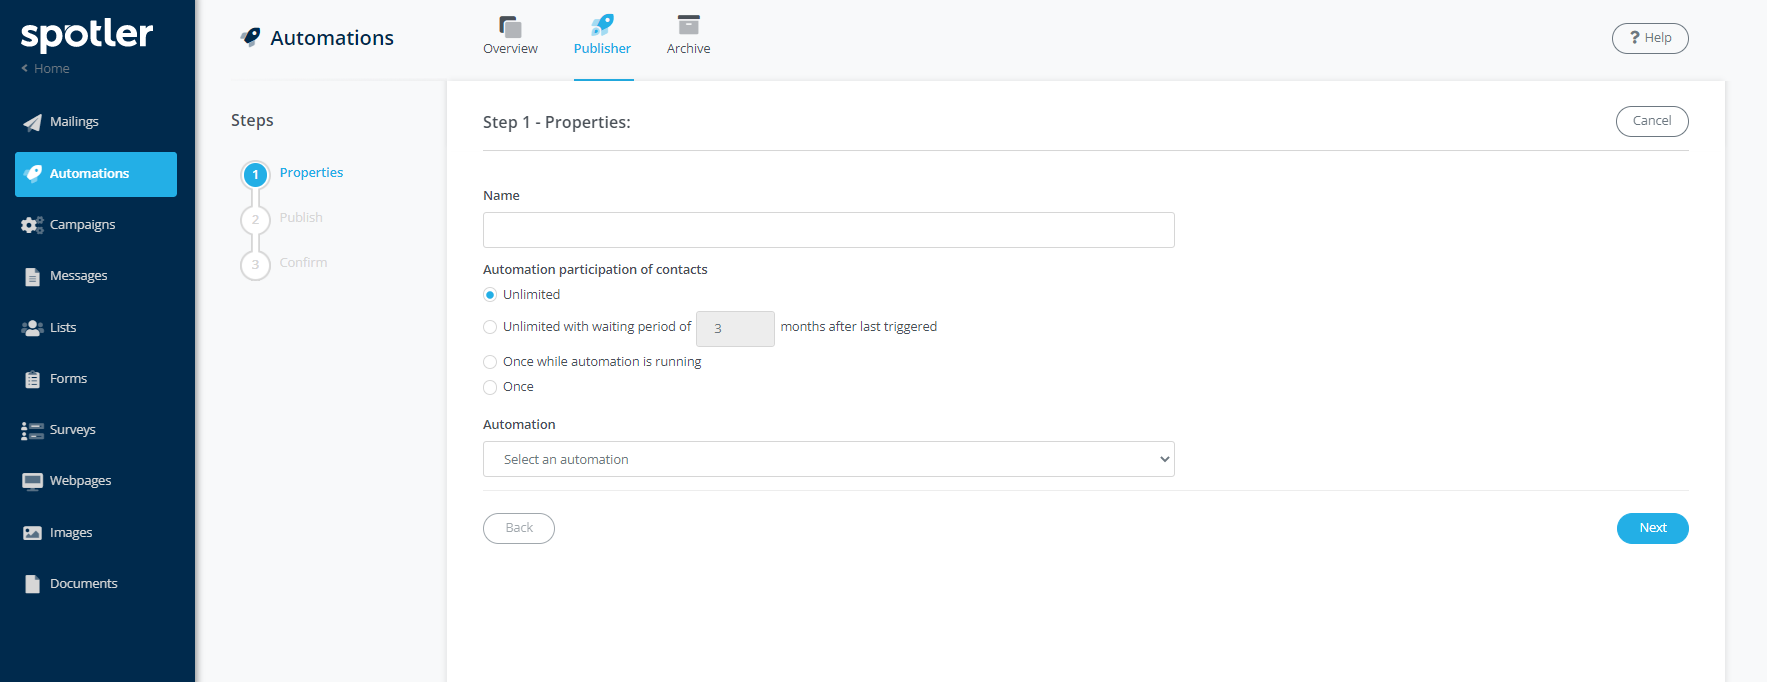
In the first step, you give the publication a name. Provide a recognizable name, so that you and your colleagues know what the automation means. In addition, you set the participation of the contacts and you select the automation that you want to publish.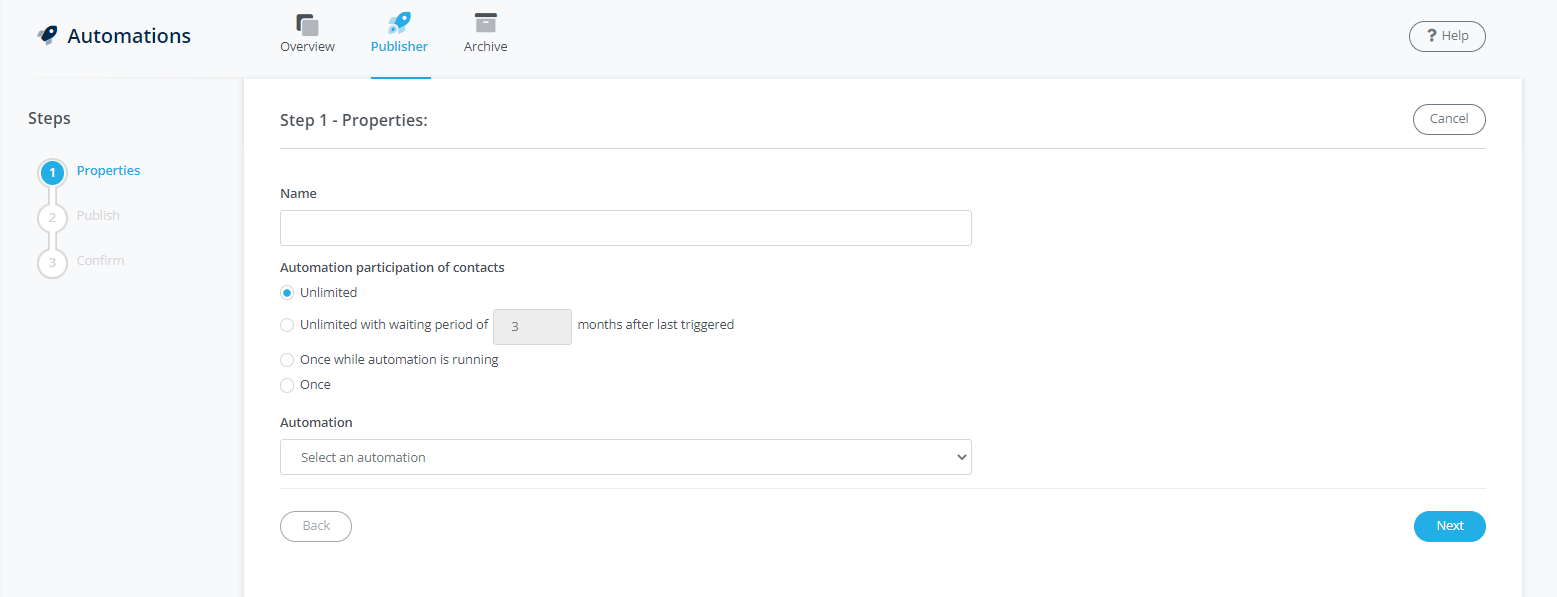
The following options can be set when participating:
- Unlimited
An automation keeps going off every time an event/action occurs again. - Unlimited with waiting period of X-months after last triggered
It is possible to specify a waiting time when someone can be retriggered in an automation - Once while automation is running
A contact only enters the automation again if he has gone through all the steps of the campaign and the event/action takes place again. - Once
The automation will go off once for a contact, regardless of whether the event/action occurs again.
After selecting the automation, you will see a preview of the flow of the automation. When you click on the example, it will be enlarged and you will see the flow in detail.
Click Next to go to the next step.
 |
Can't you select the automation in step 1? |
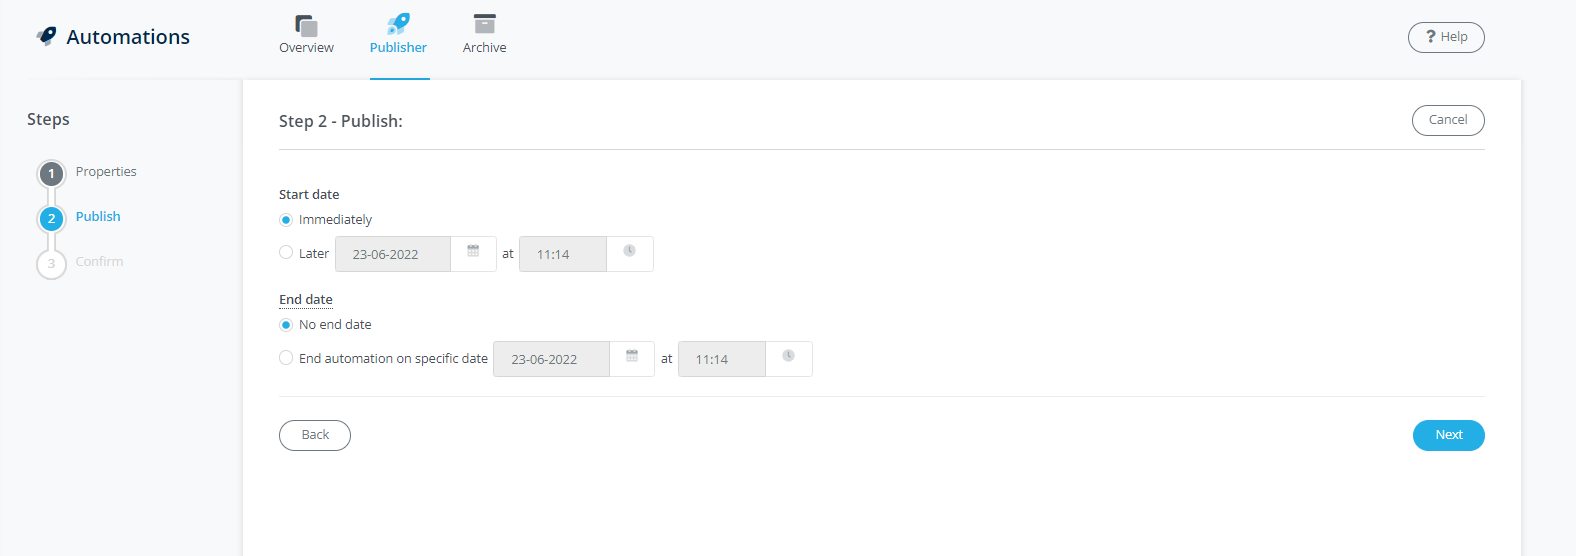
Step 2 - Publish
In the second step, you enter a start date for your publication and an end date, if any.
Click Next to go to the last step.
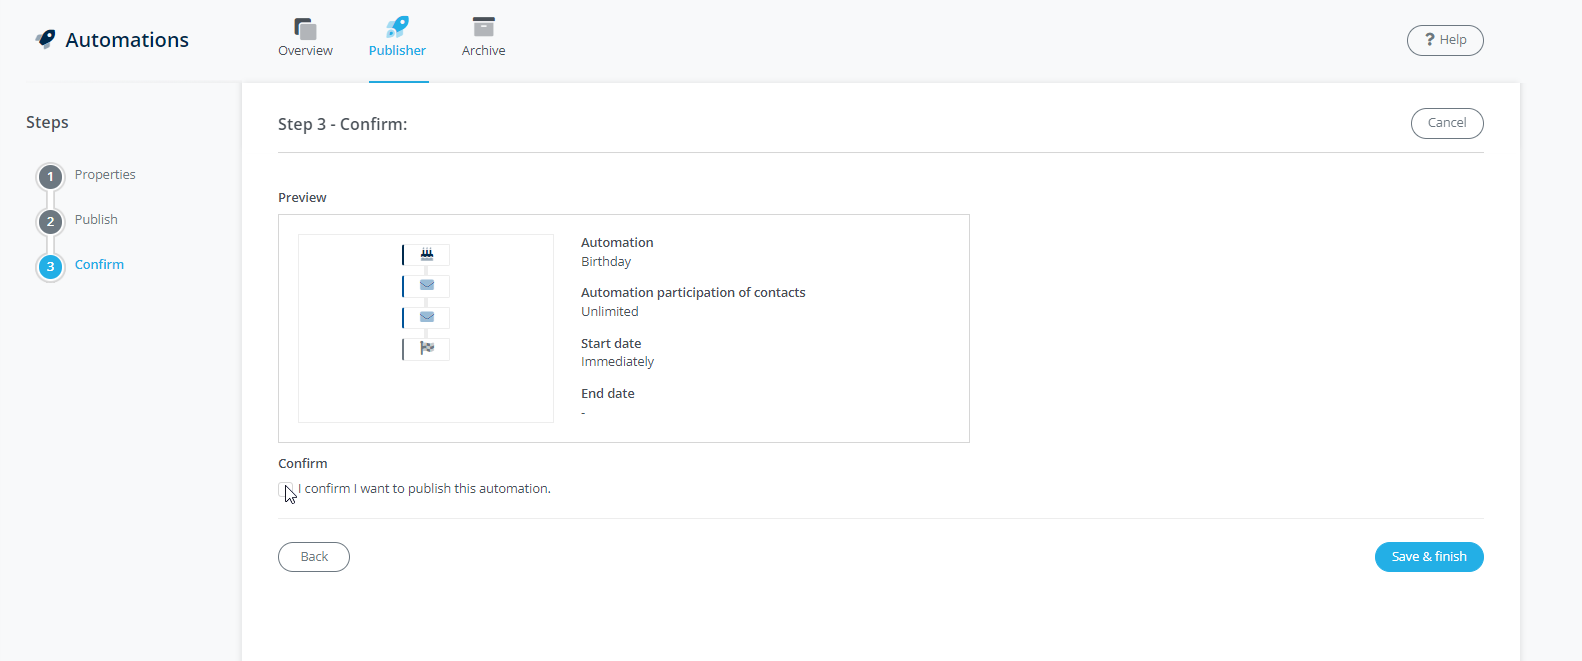
Step 3 - Confirm
In the very last step you see a small summary of the publication. Check the checkbox to confirm that the publication can go live. Then click on Save & Finish.
The menu of a publication
There are several actions from a publication's menu:
| Action | Function |
| Report |
Report |
| Stop |
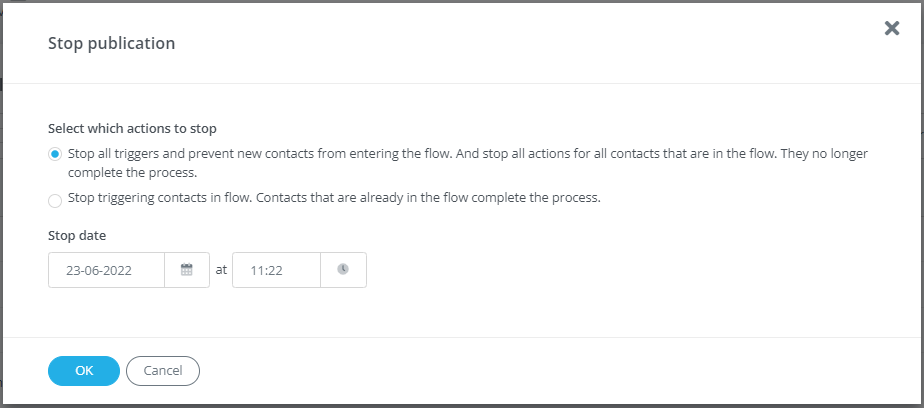
Stop Make a choice which actions should be stopped. Do you want all triggers and actions to be stopped immediately for the contacts in the flow? Or do you want the flow to be completed for the contacts, but no new contacts may be added to the flow? In addition, enter a stop date and click Ok. |
| View |
View |
| Rename |
Rename |
| Move |
Move |
| Delete |
Delete |
 |
Want to make changes to your published automation? |
