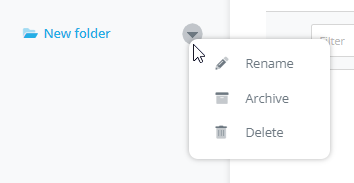
When you have completed one or more automations, you will see them listed under the Overview tab of the Automations module. In this tab you can view, compose, edit, test your automations and you can change the status of your automations.
Getting started
Manage and edit automations
If you have already set up one or more automations, move your mouse over the screen in the overview screen. You will then see a round symbol with an arrow illuminate with which you open editing menus. You can also use your right mouse button for this.
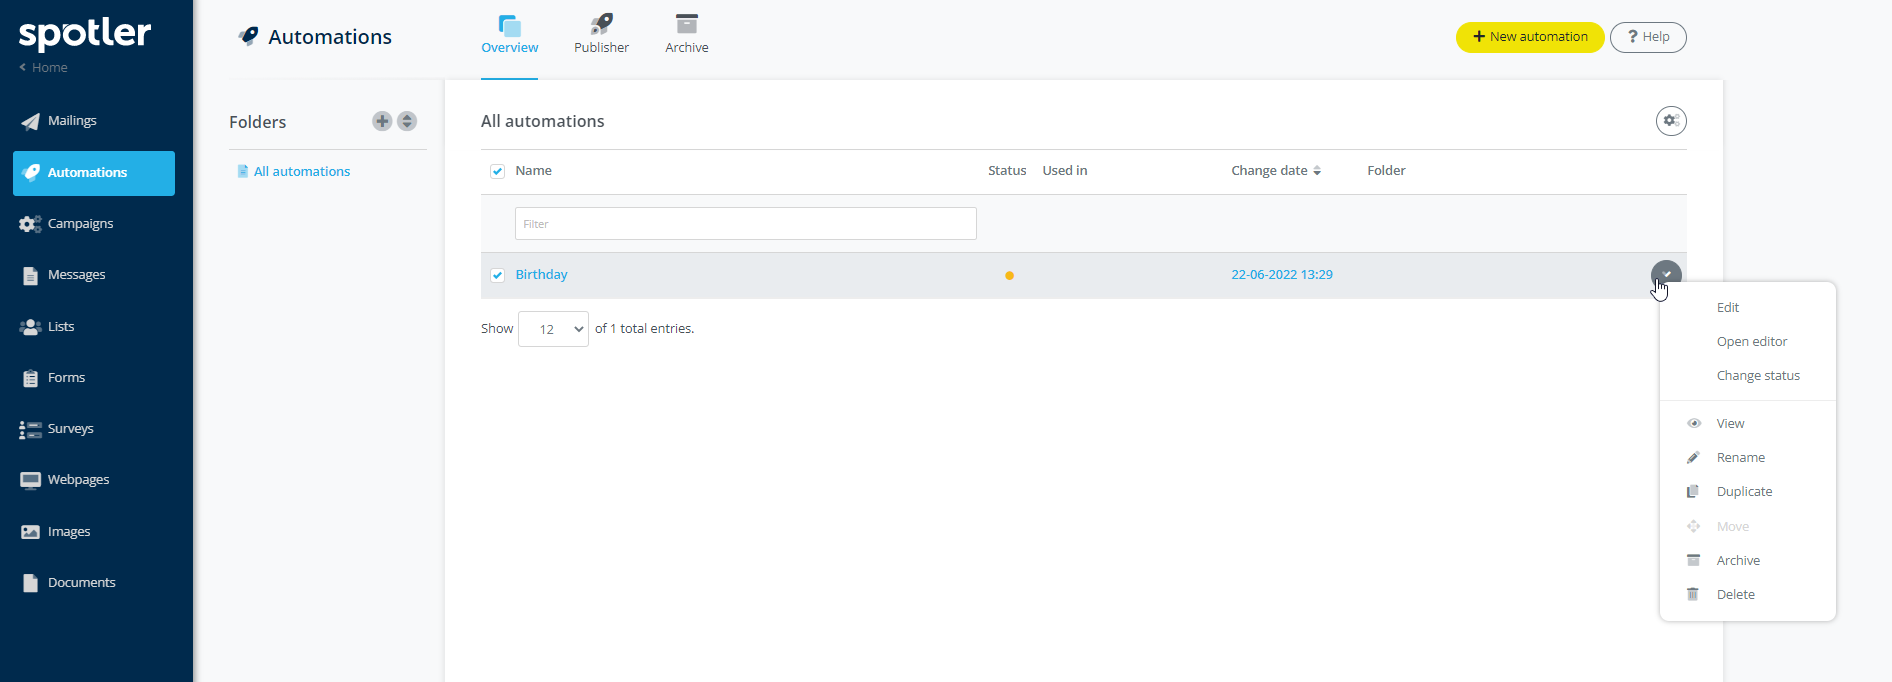
Zoomed in, the menu looks like this:
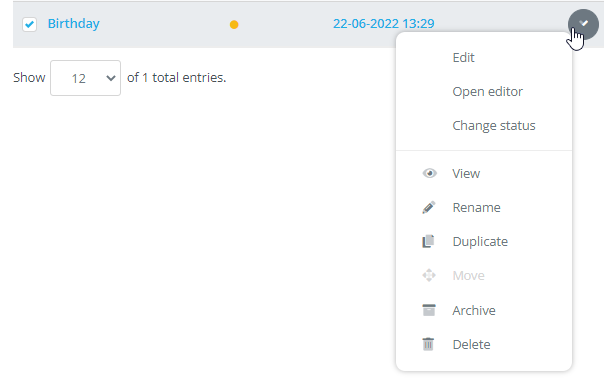
| Edit | Open the step-by-step plan New automation. This allows you to make changes to your automation. Need help? Go to New automation. |
| Open editor | Open the editor of the Automations module. This will open the automation editor directly. Need help? Go to Editor Automations. |
| Change status | Open the Change Status screen. From this menu you can change the status of your automation. You have the following options: Draft, Test and Final.
Only an automation that has the status: Final can be published. |
| View | View the setup of your automation. You see the flow of your automation. |
| Rename | Change the name of your automation. |
| Duplicate | Duplicate your automation. The automation flow is duplicated. The existing forms, surveys, messages and web pages are linked to the duplicate of the automation. No extra copies are made of this content, so your overview remains tidy. |
| Move | Move your automation to a folder. |
| Archive | Move your automation to the Archive. |
| Delete | Delete your automation. |
 |
Selecting multiple automations at once? You can also select one or more automations by checking the name of the automation yourself. If you select multiple automations, a special edit menu will appear to select and move multiple automations at the same time. |
Select and move multiple automations
If you select multiple automations at the same time, you will see a round symbol with an arrow light up in the top right corner that opens the edit menu for moving automations. The button also shows how many automations you have selected.
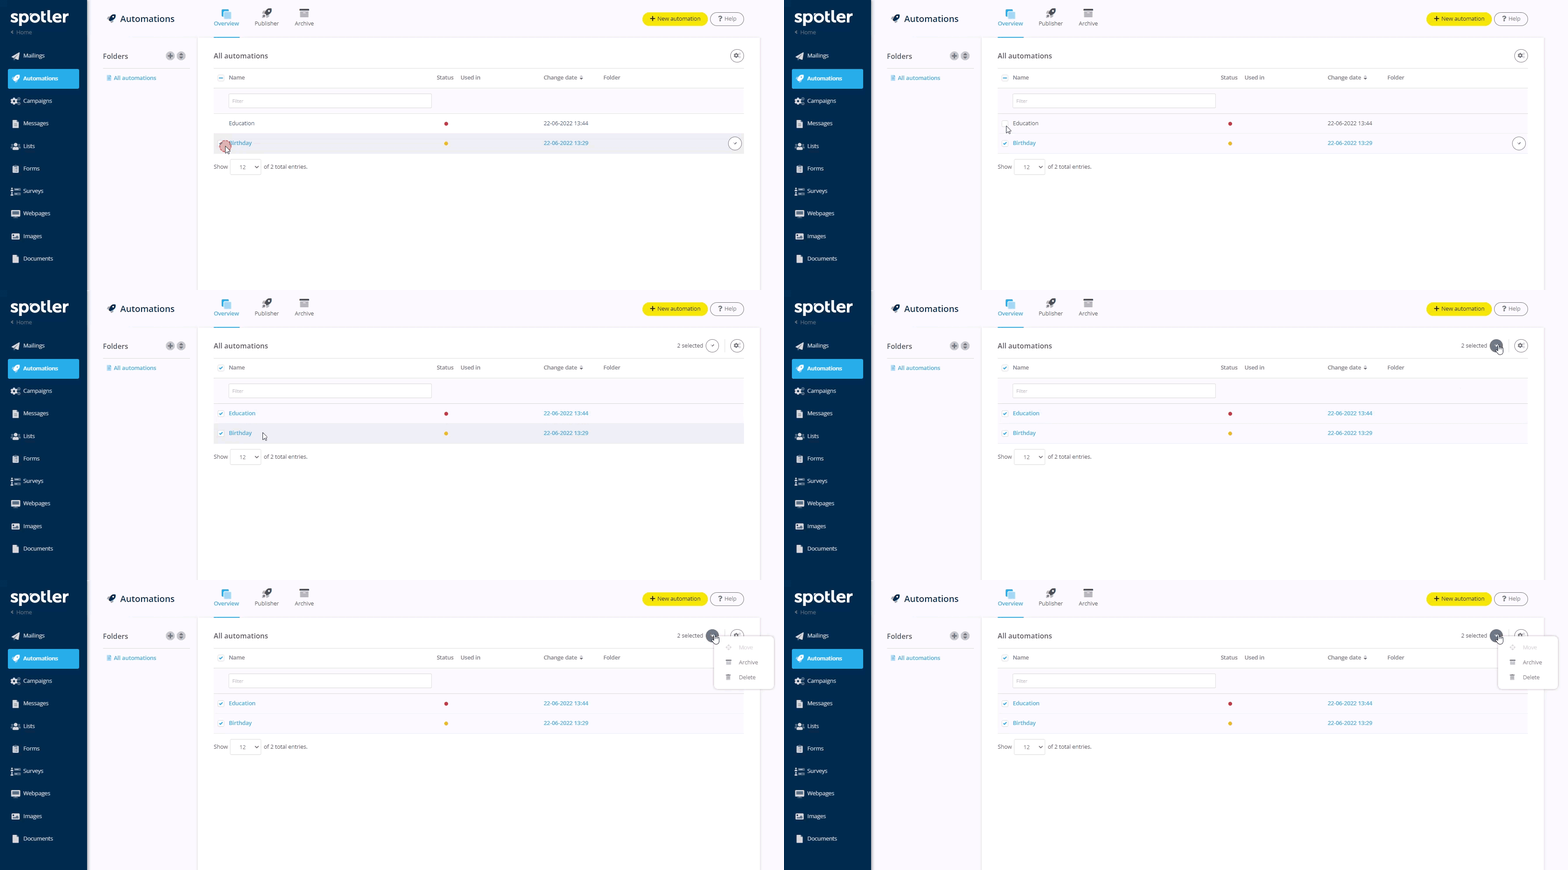
Zoomed in, the edit menu looks like this:
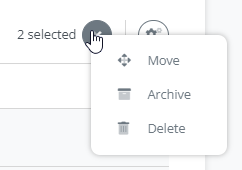
Explanation of the functions in the edit menu for multiple automations:
| Move | Move your automations to a folder. |
| Archive | Move your automations to Archive. |
| Delete | Delete your automations. |
Good to know
You can always restore archived automations to your total overview. From the Archive tab, you can simply check the automations that you want to restore. You use the same editing menu as above for this.
And if you try to remove multiple automations at once, Spotler will treat you to a big yellow warning screen. Such an action cannot be undone. So you have to be very sure.
 |
Rearrange Name and Date columns Move your mouse over the column titles. You will then see two arrows light up next to the column names Name and Date. This allows you to alphabetize your automations and place the newest or the oldest automations at the top of the screen. |
Folder editing menu
The third edit menu that you will encounter in the overview screen of the Automations module is the drop-down menu that allows you to edit your folders. This menu is not yet visible when you open the Automations module for the first time. You will first need to create a folder.
You can easily create a new folder by clicking on the plus symbol next to the grey-coloured word Folders in the folder structure. You can then enter a name yourself. Next to the name of your new folder you can click on the round symbol with the arrow that lights up when you move your mouse over your folders.
Zoomed in, the edit menu looks like this:
Explanation of functions in the folder editing menu:
| Rename | Rename your automation folder. |
| Archive | Move your automation folder to Archive. |
| Delete | Delete your automation folder. |
 |
Multiple automations that are part of one campaign? Perhaps you have set up various automations around an event. It is then useful to use folders. This way you have an overview of all automations that are part of one campaign. |
