Do you want to find out which sending date/time works the best for your target group? Then use the Split function. This allows you to choose a different sending date/time for each group, or to test multiple subject lines, among other things. It is possible to split both dynamic and static lists.
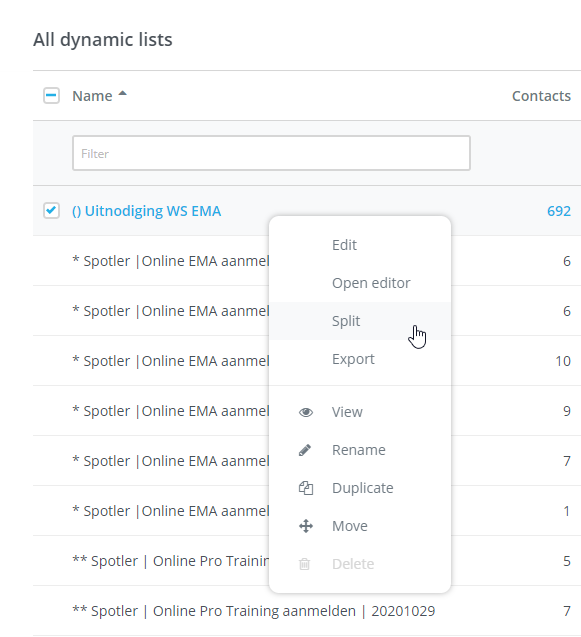
Depending on which list you want to split, go either to the tab Dynamic lists or to Static lists. Use the drop-down menu and click on Split.

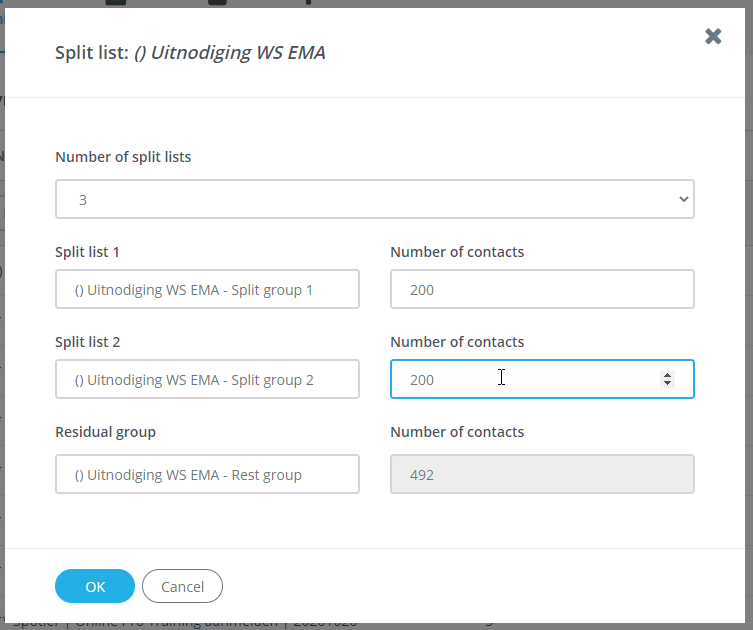
A pop-up will appear, in which you can indicate how many contacts each split list should contain. There are no restrictions to the list sizes, nor to their names. 
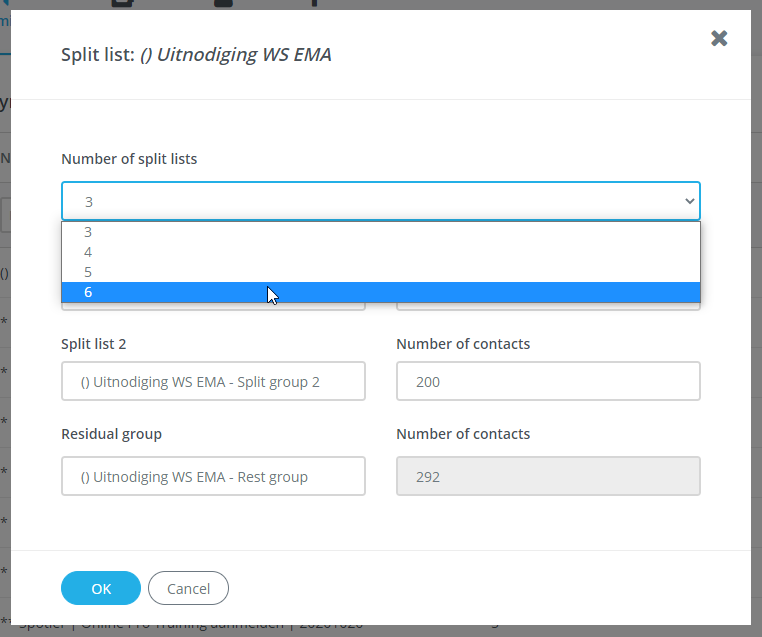
By default, the number of split lists is 3, but it is also possible to set up more split lists, using the drop-down menu.

Viewing the split list of a dynamic list
If you have split a dynamic list, you will be able to see a scissors icon in the overview.

To view the split lists, double-click the row with the scissors icon. This allows you to see the target group, but it will also show you an extra tab for the split lists.

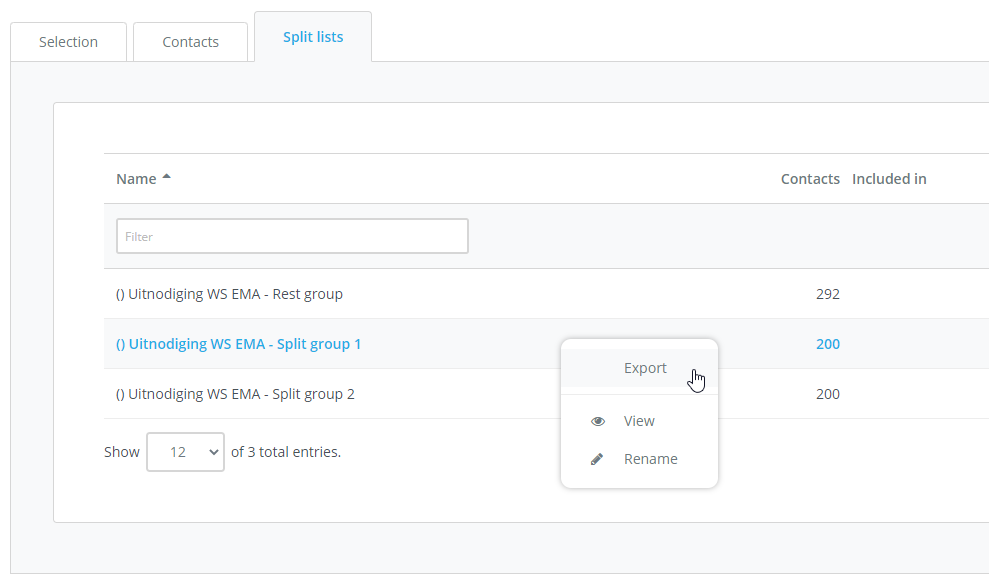
Click on the tab Split lists.

Here, you will see an overview of your split lists, with the number of contacts per list. You can export, view or rename these lists by right-clicking or by using the drop-down menu.
Viewing the split list of a static list
Unlike with the dynamic lists, if you have split a static list, you will see the split lists in the overview. This is because there is a maximum for the number of static lists you can have. This way, you can see at a glance how many static lists there are in the overview.
