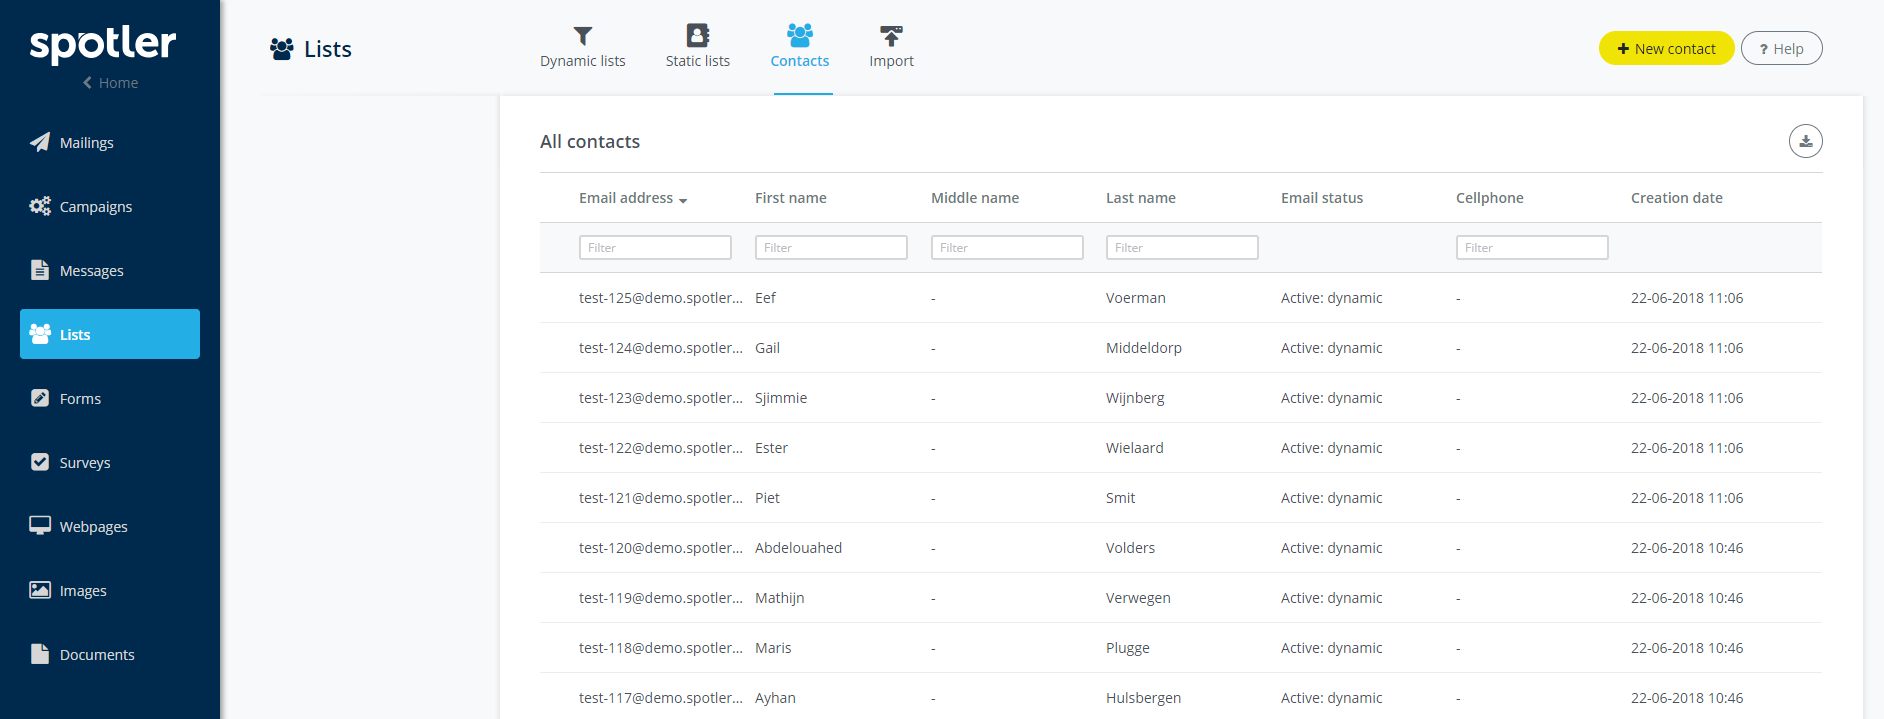
In the Contacts tab you will see an overview of all contacts, regardless of the list to which they belong. You also have the option to manually add a new contact from this location.
Getting started
As soon as you have clicked Contacts, you will see the following screen:

From within this screen you can:
View and edit contacts
View or edit a contact via the drop-down menu

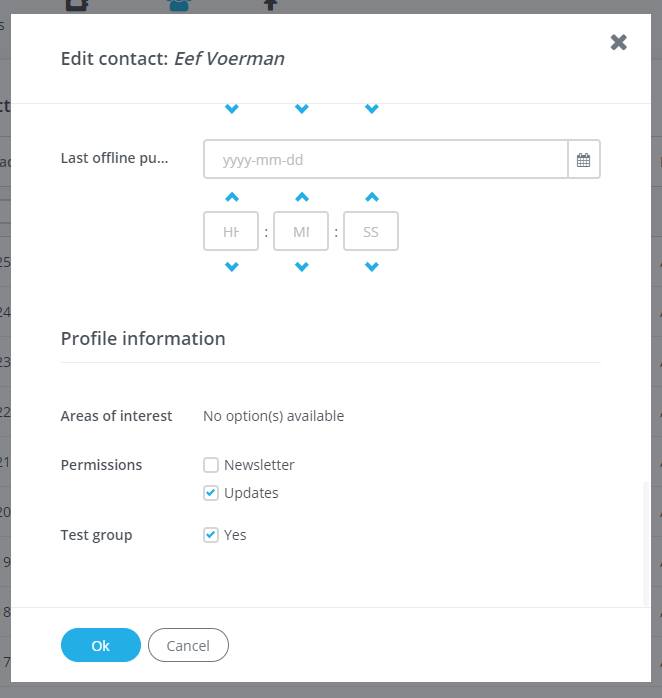
While you are editing, a popup screen containing the database fields from your Spottier account will appear. You can fill in information here.
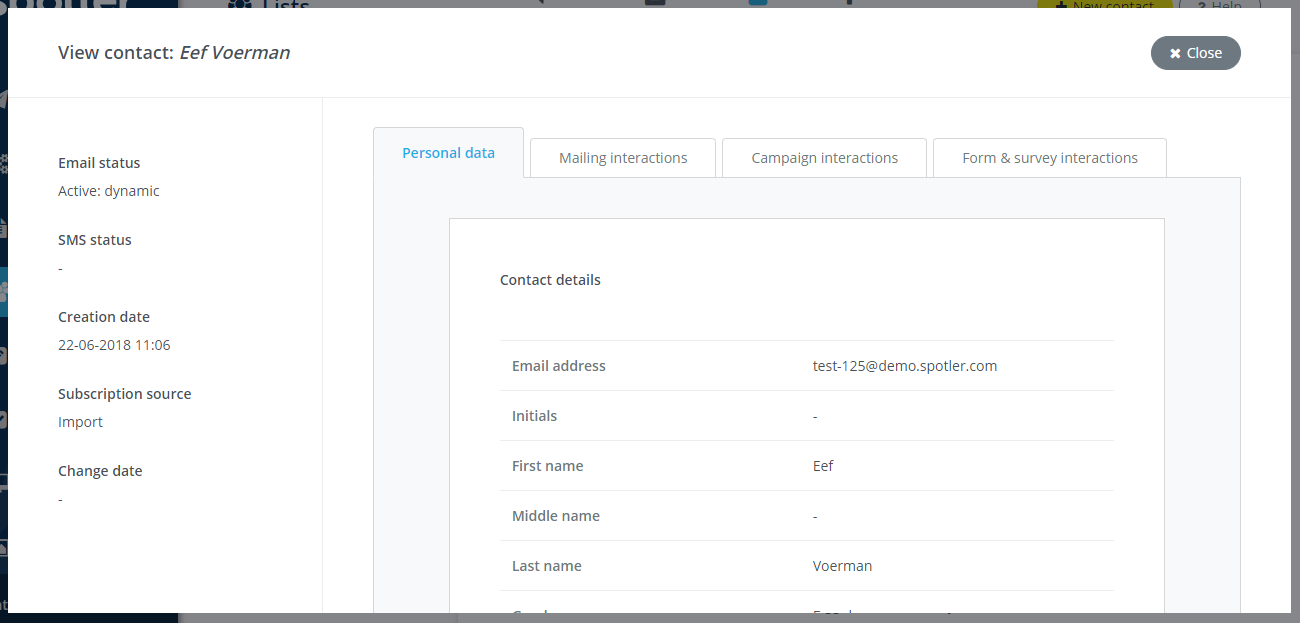
When you click on View a popup window will appear:

On the left side of this popup you will see the same properties that are also shown in the contacts overview. On the right side you will see personal data, mailing interactions, campaign interactions, form and survey interactions. You can see how many mailings a contact has received and opened. You can also see to which campaigns your contact belongs and how many forms the contact has filled out.
Adding contacts
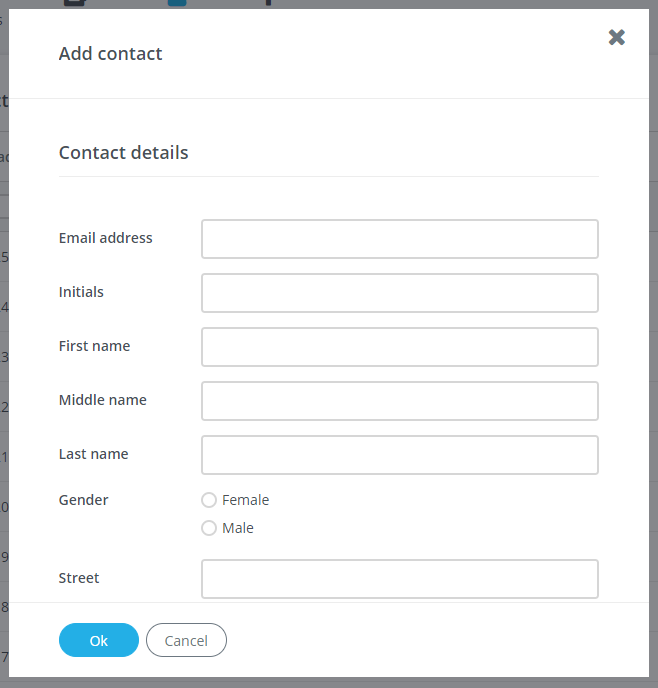
Click on the yellow button New contact. A popup will open:

In this popup you can fill in the contact details. Beneath the popup you will see Test group and a checkbox. It will look like this:

Check this box if you would like to send your test mailings to this contact. When you want to test a message in the module Messages you will have the option to choose Test group and Single recipient. If you choose Test group, you will see the contacts that have the Test group box checked.
Finished filling in the data? If yes, click Ok.
Export contacts file
You can download a CSV file including all your contacts by clicking on the Download icon:

 |
Sorting the columns Email address, First name, Middle name, Last name, Cellphone and Registration date Hover your mouse cursor over the titles of the column names in the Contacts screen. You will see two arrows light up next to the column names Email address, First name, Middle name, Last name, Cellphone and Registration date. With this you can sort contacts alphabetically, by cellphone number or by registration date descending or ascending. |